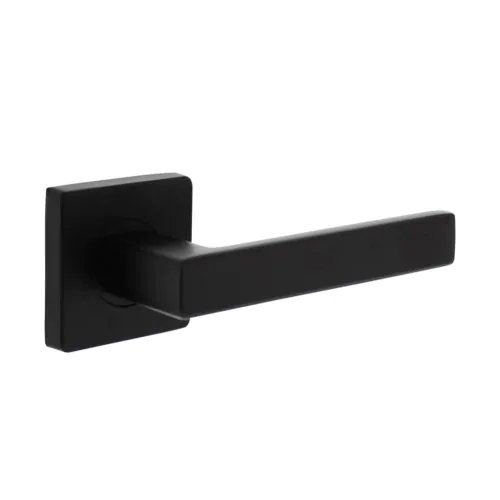
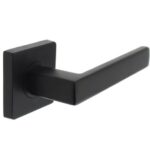
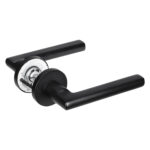
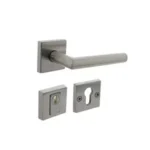
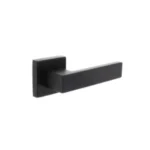
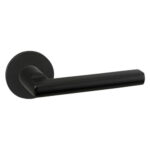
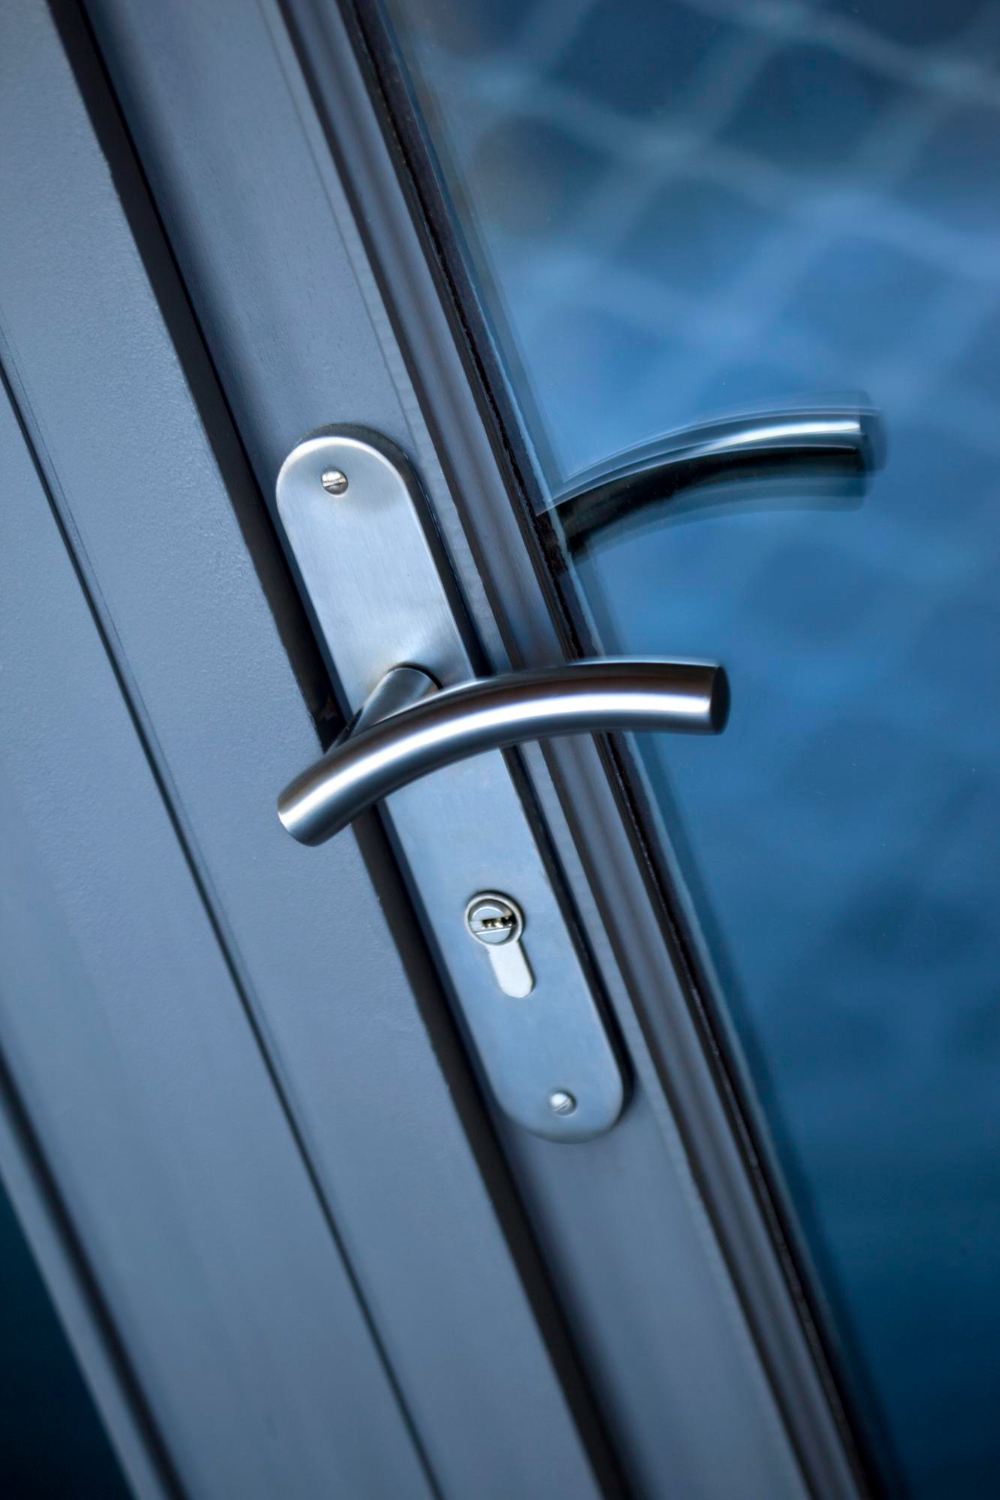
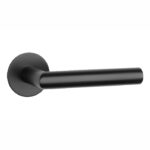
Door handle on rosette
The most beautiful door fittings on rosette
 Matt black
 Stainless steel brushed
 bronze
 Aluminium
 Chrome
 Chrome Matt
 Nickel Matt
 Antracite grey
 Brass Lacquered
 Brass Tumbled
 Brass Unlacquered
 Buyer
Buyer
 Gold
Gold
 White
White
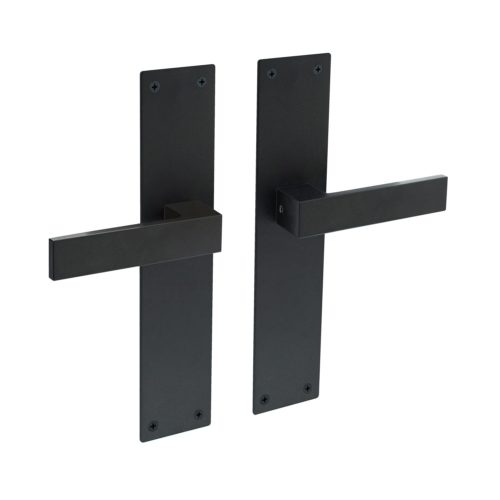
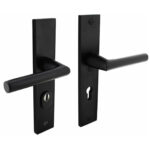
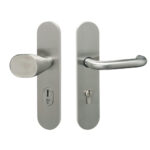
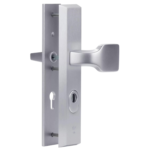
Door handle on shield
View all door handles on shield here
 Brass Titan PVD
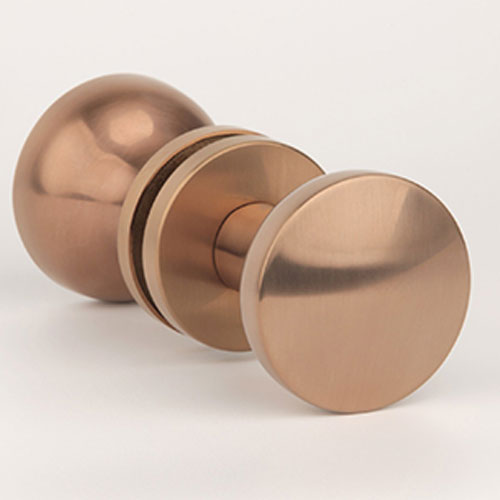
Doorknobs
For a sleek look
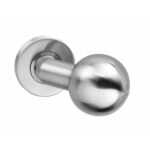
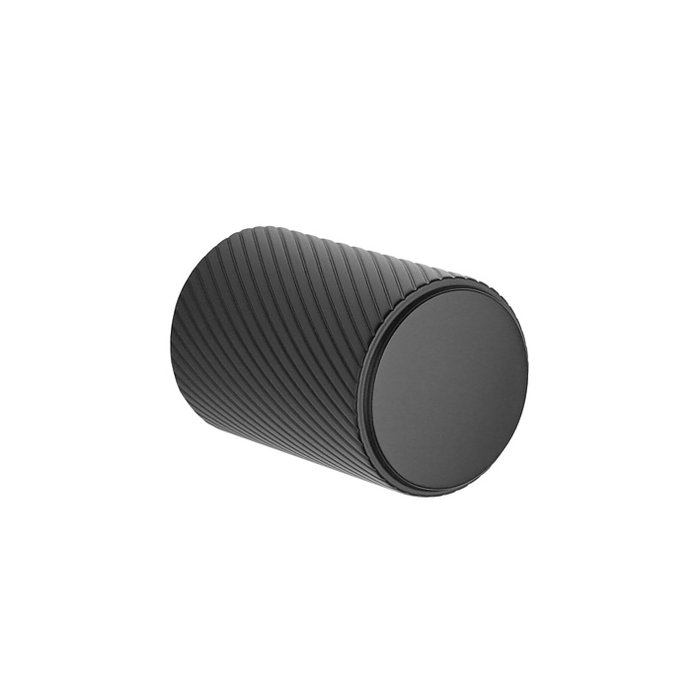
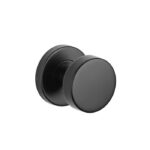
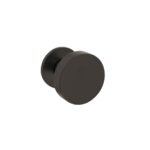 Door knob on rosette (not rotatable)
 Door knob on shield (not rotatable)
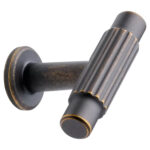
 Knob crank (rotatable)

Rosettes
Suitable for door handles on rosette
 Interior door fittings
The most beautiful door fittings on rosette
View all door handles on shield here
For a sleek look
Suitable for door handles on rosette
 Exterior door fittings
 Rosettes

Enjoy in peace and quiet

For the bedroom door or meter cupboard

For lockable interior doors
 Mailboxes

In various colors
Environmentally conscious choice
Traditional and simple

Price-conscious choice
Prevent missed packages
 Locks & Cylinders
Ideal for interior doors

For exterior doors
New in our assortment
Sleek design
 Hinges & Paumelles
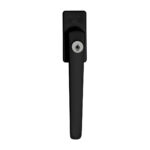
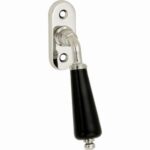
 Window fittings
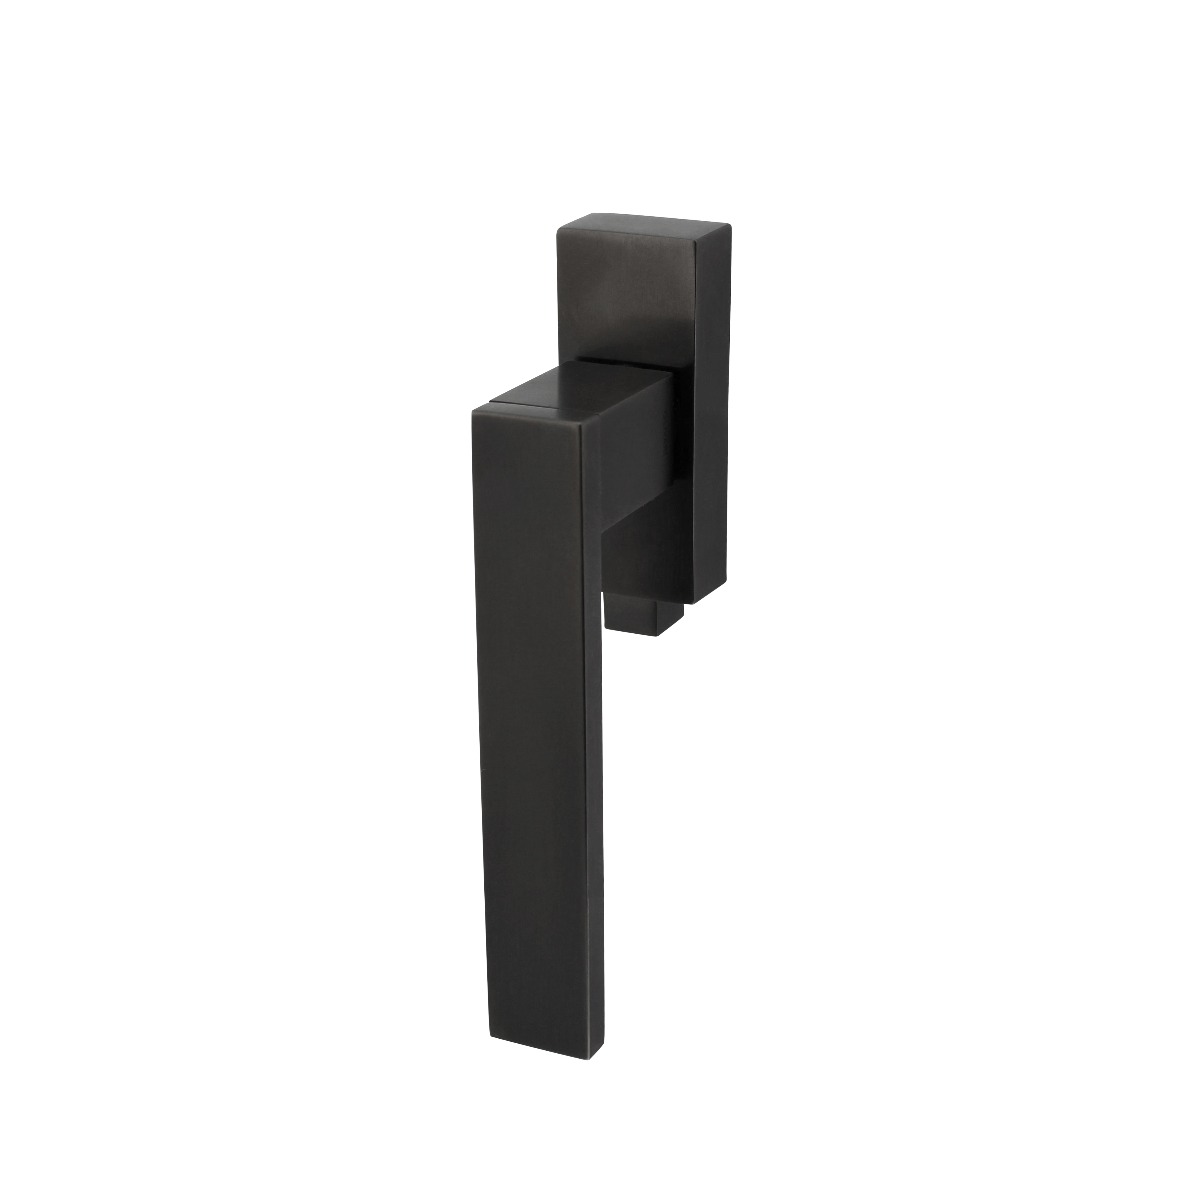
Turn-tilt closures
With window trees
Enjoy in peace and quiet
Enjoy in peace and quiet

Competitive price
 Furniture fittings
Different shapes and sizes
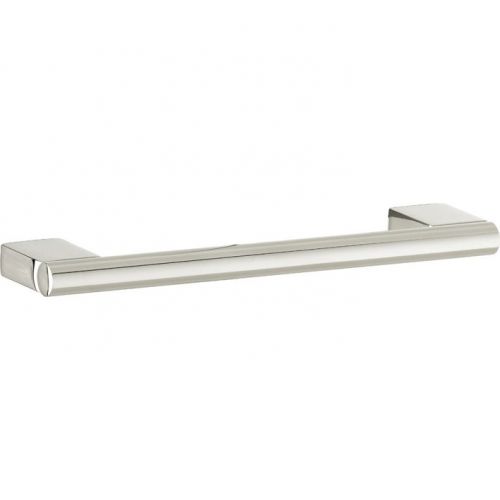
Handles for cabinets
For cupboard doors and drawers
 Sliding door fittings
 Other
Other
 Offers
 To notice
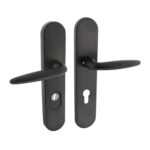
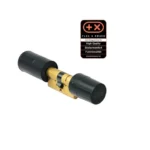
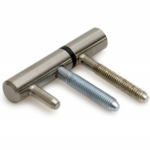
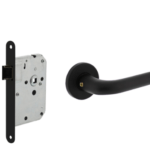
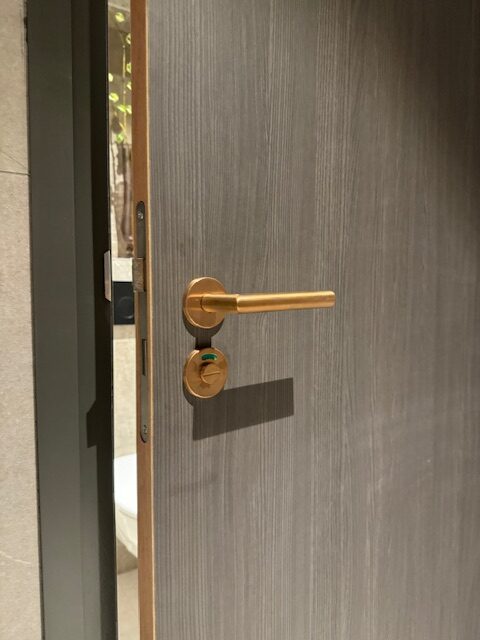
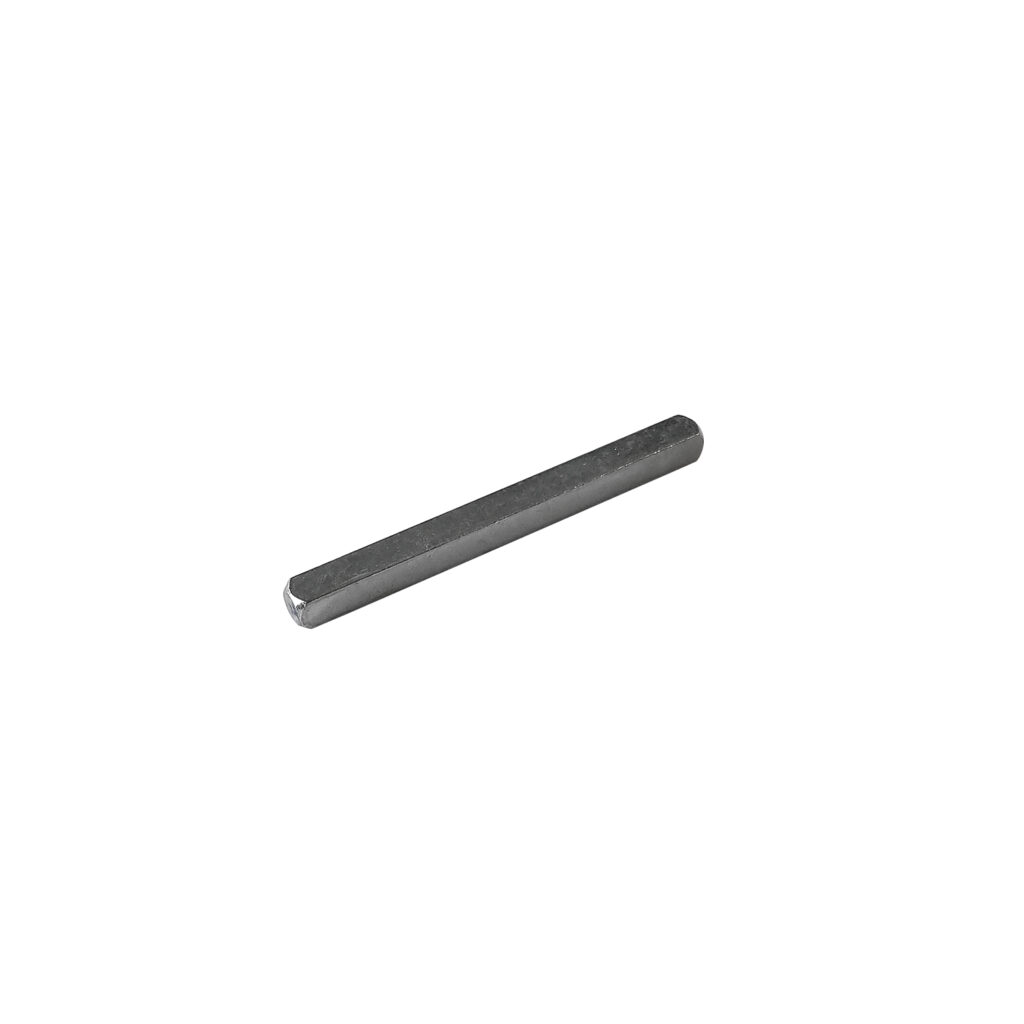
Want to install a single-sided door handle? The use of a change pin when mounting a door handle on one side is a useful solution to ensure that the door handle functions properly, even if it is mounted on only one side of the door. Here you can read more about how and why to use a change pin for single-sided mounting.
With single-sided door handle installation, the handle is placed on only one side of the door, meaning there is no through shaft or joint connecting the handle to the other side of the door. This can be a challenge, especially if you want to prevent the door handle from sticking through the lock.
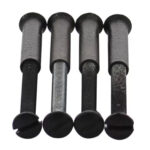
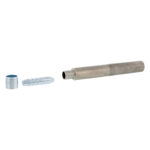
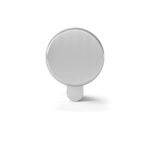
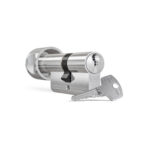
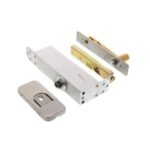
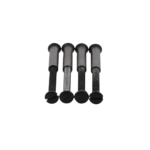
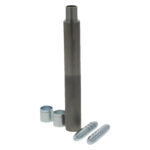
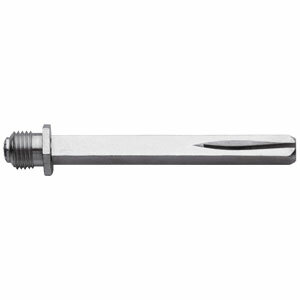
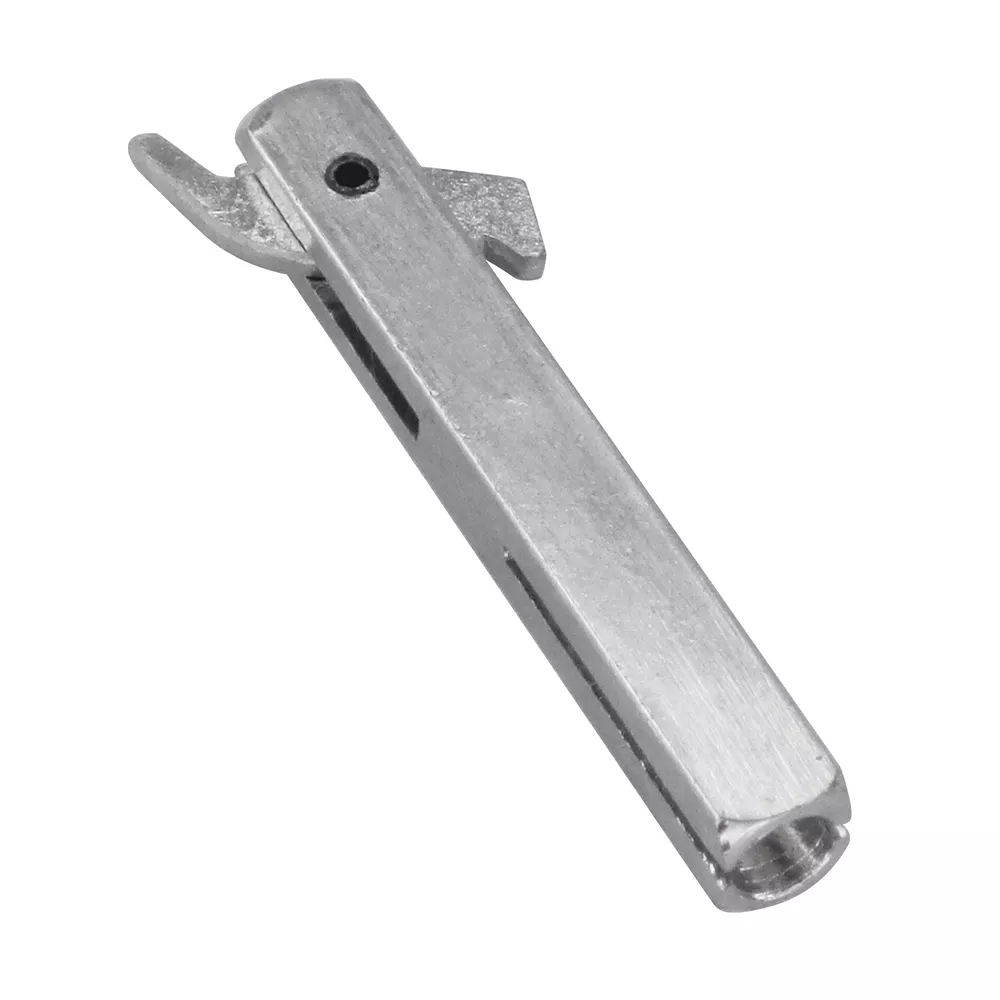
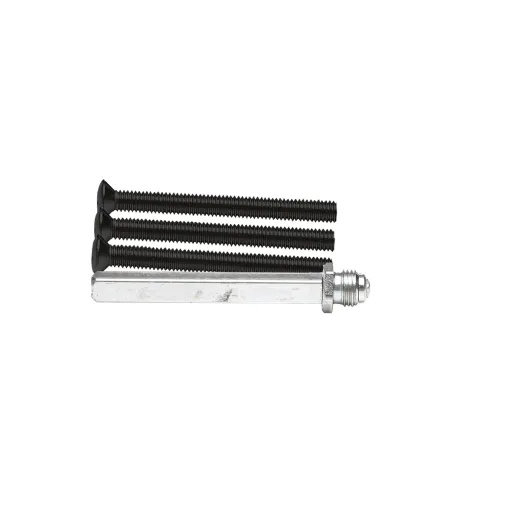
A changeable pin offers an elegant solution here. It consists of two parts: a threaded part that mounts on the outside of the door and a part that resembles a handle pin and mounts on the inside of the door. The threaded portion can be used to attach a fixed doorknob or other decorative finish to the outside of the door, while the handle pin portion is used to mount the single-sided door handle on the inside.

Preparation for single-sided door handle installation: Measure the desired height for the single-sided door handle on the inside of the door and mark it with a pencil.
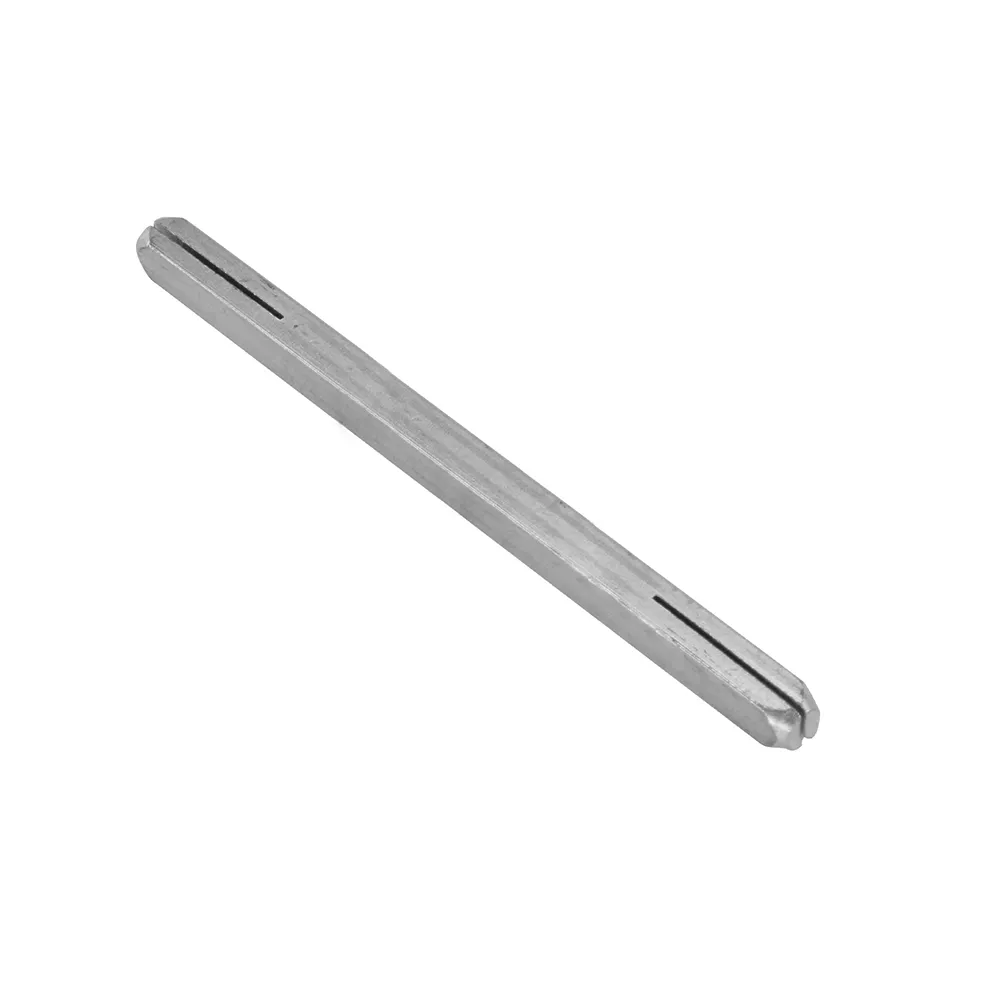
Install the threaded part: Place the threaded part of the change pin in the lock of the door, on the side where you want to attach the fixed door knob. Tighten the change pin using a wrench to ensure it is securely in place.
Install the door handle: Attach the door handle to the handle pin part of the change pin on the inside of the door. Make sure the door handle is properly aligned with the mark you made in step 1. Use the included screws to securely mount the door handle.
Test functionality: Try the door handle to check that it turns smoothly and the door opens and closes properly. If everything works properly, the installation is complete.
The use of a change pin for single-sided installation not only provides functionality, but also an aesthetic finish on the outside of the door. It provides a balanced appearance no matter which side of the door you are on, while the door handle is securely and firmly mounted on the inside.
A change pin is a smart solution for mounting a single-sided door handle, and it can make a difference in the design of your doors. But what exactly is a change pin, and why would you want to use it?
A change pin is an essential part for door handles, especially when you are dealing with single-sided door handle mounting. It consists of two components: a threaded portion that mounts on the outside of the door and a crank pin-like portion that mounts on the inside of the door.
We also send single-sided door handles on request and/or View the entire range here
If you have any questions, please do not hesitate to contact us. Doorgeslag Expert team is always ready to help you.
 Interior door fittings
 Door handles
 Rosettes
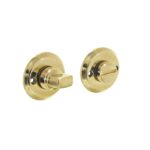
 WC Closure / Toilet rosette
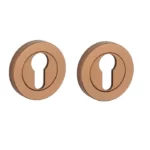
 Keyhole rosette
 Cylinder Rosette
 Blind rosette
 Doorknobs
 Other
Other
 Exterior door fittings
 Mailboxes
 Locks & Cylinders
 Hinges & Paumelles
 Window fittings
 Furniture fittings
Sliding door fittings
Furniture fittings
Sliding door fittings
 Offers
No account yet?
create an account
Title or link

Title or link

Title or link

Title or link
Title or link
Title or link
Title or link
 Rosettes
 Doorstops
 Espagnolettes
 Icons
Icons
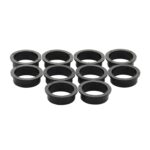
 Decorative sleeves
 Front door fittings on shield
 Brass Polished
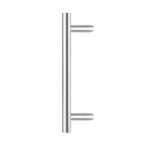
 Front door knobs
 Safety rosettes
 Old Grey
 Safety rosettes for rim locks
 Back door fittings on shield
 Extra Safety
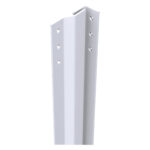 Security strips
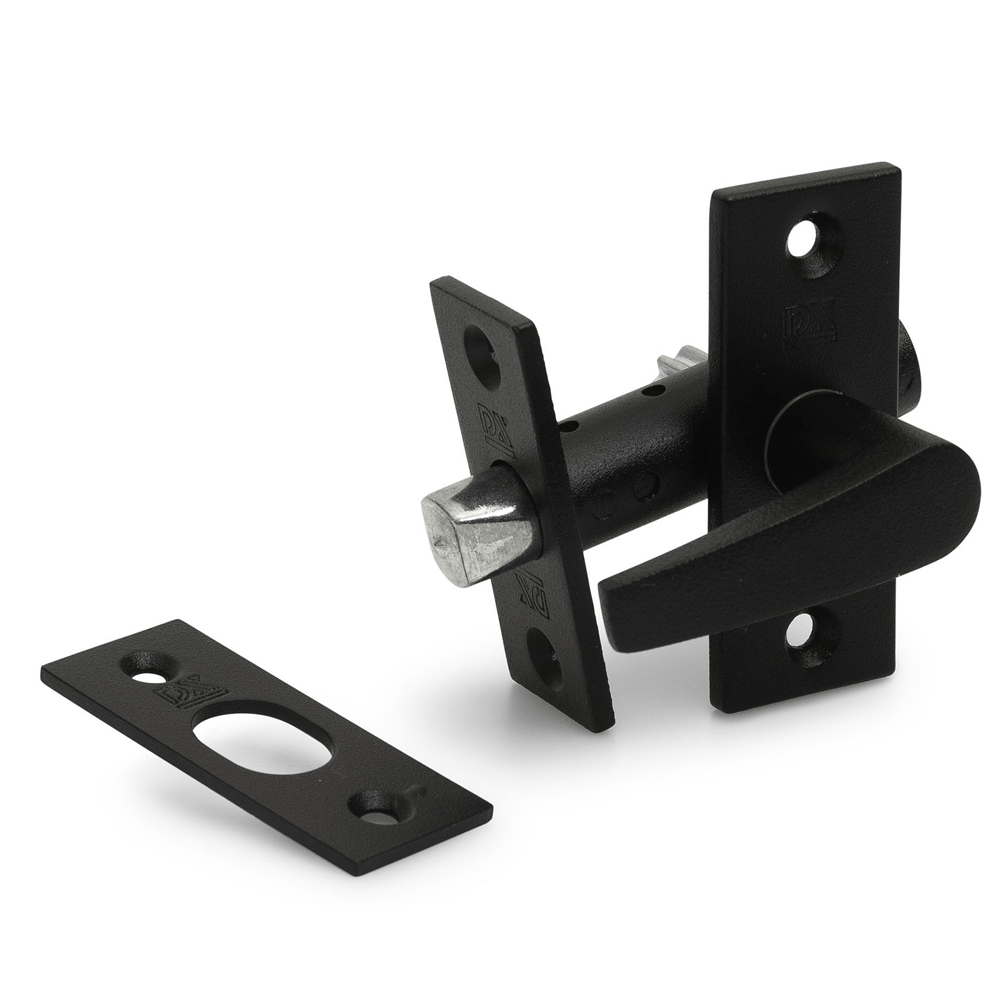
 Additional locks
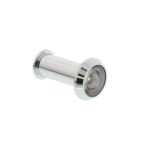 Door spies
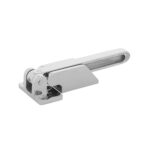
 Thieves' Claws
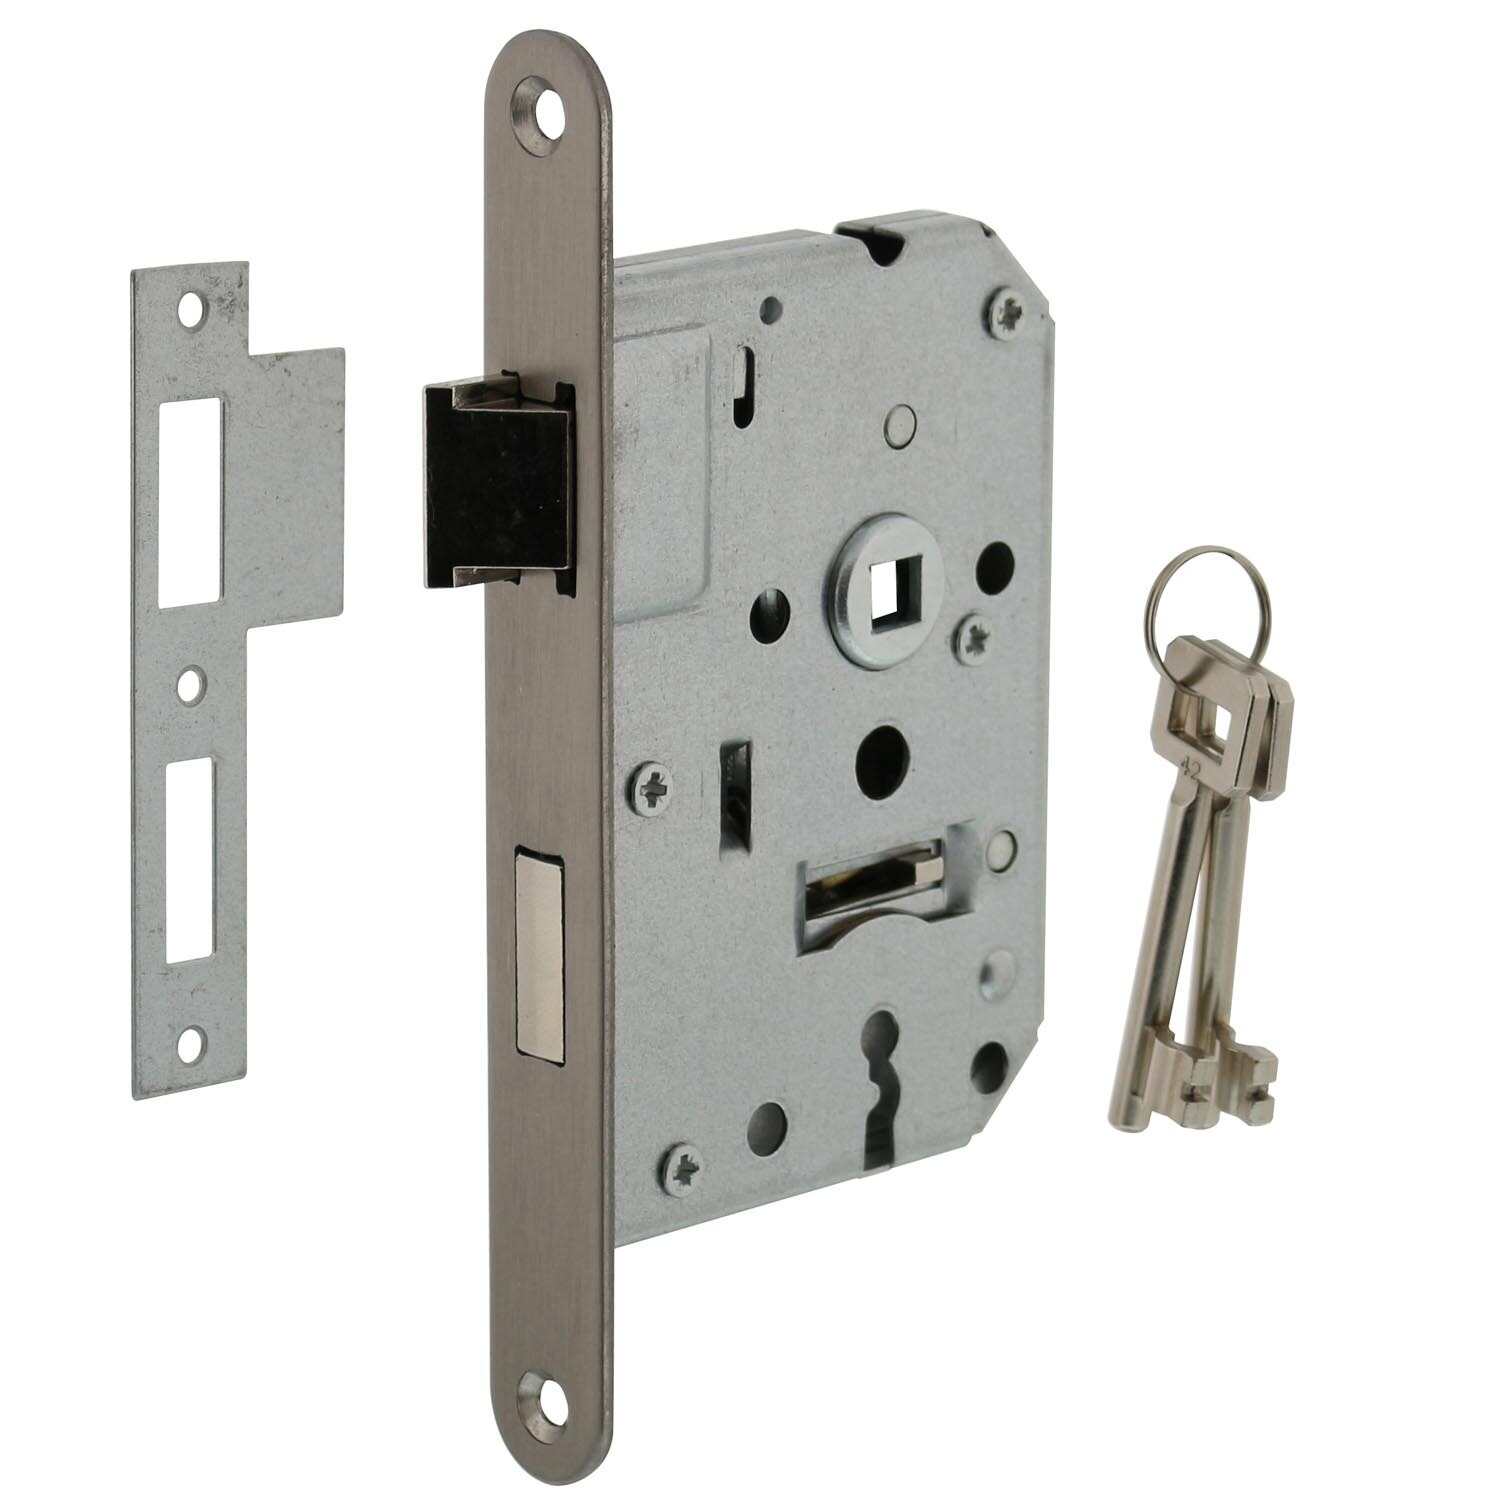
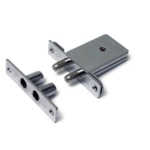
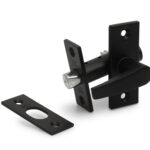 Mortise latches
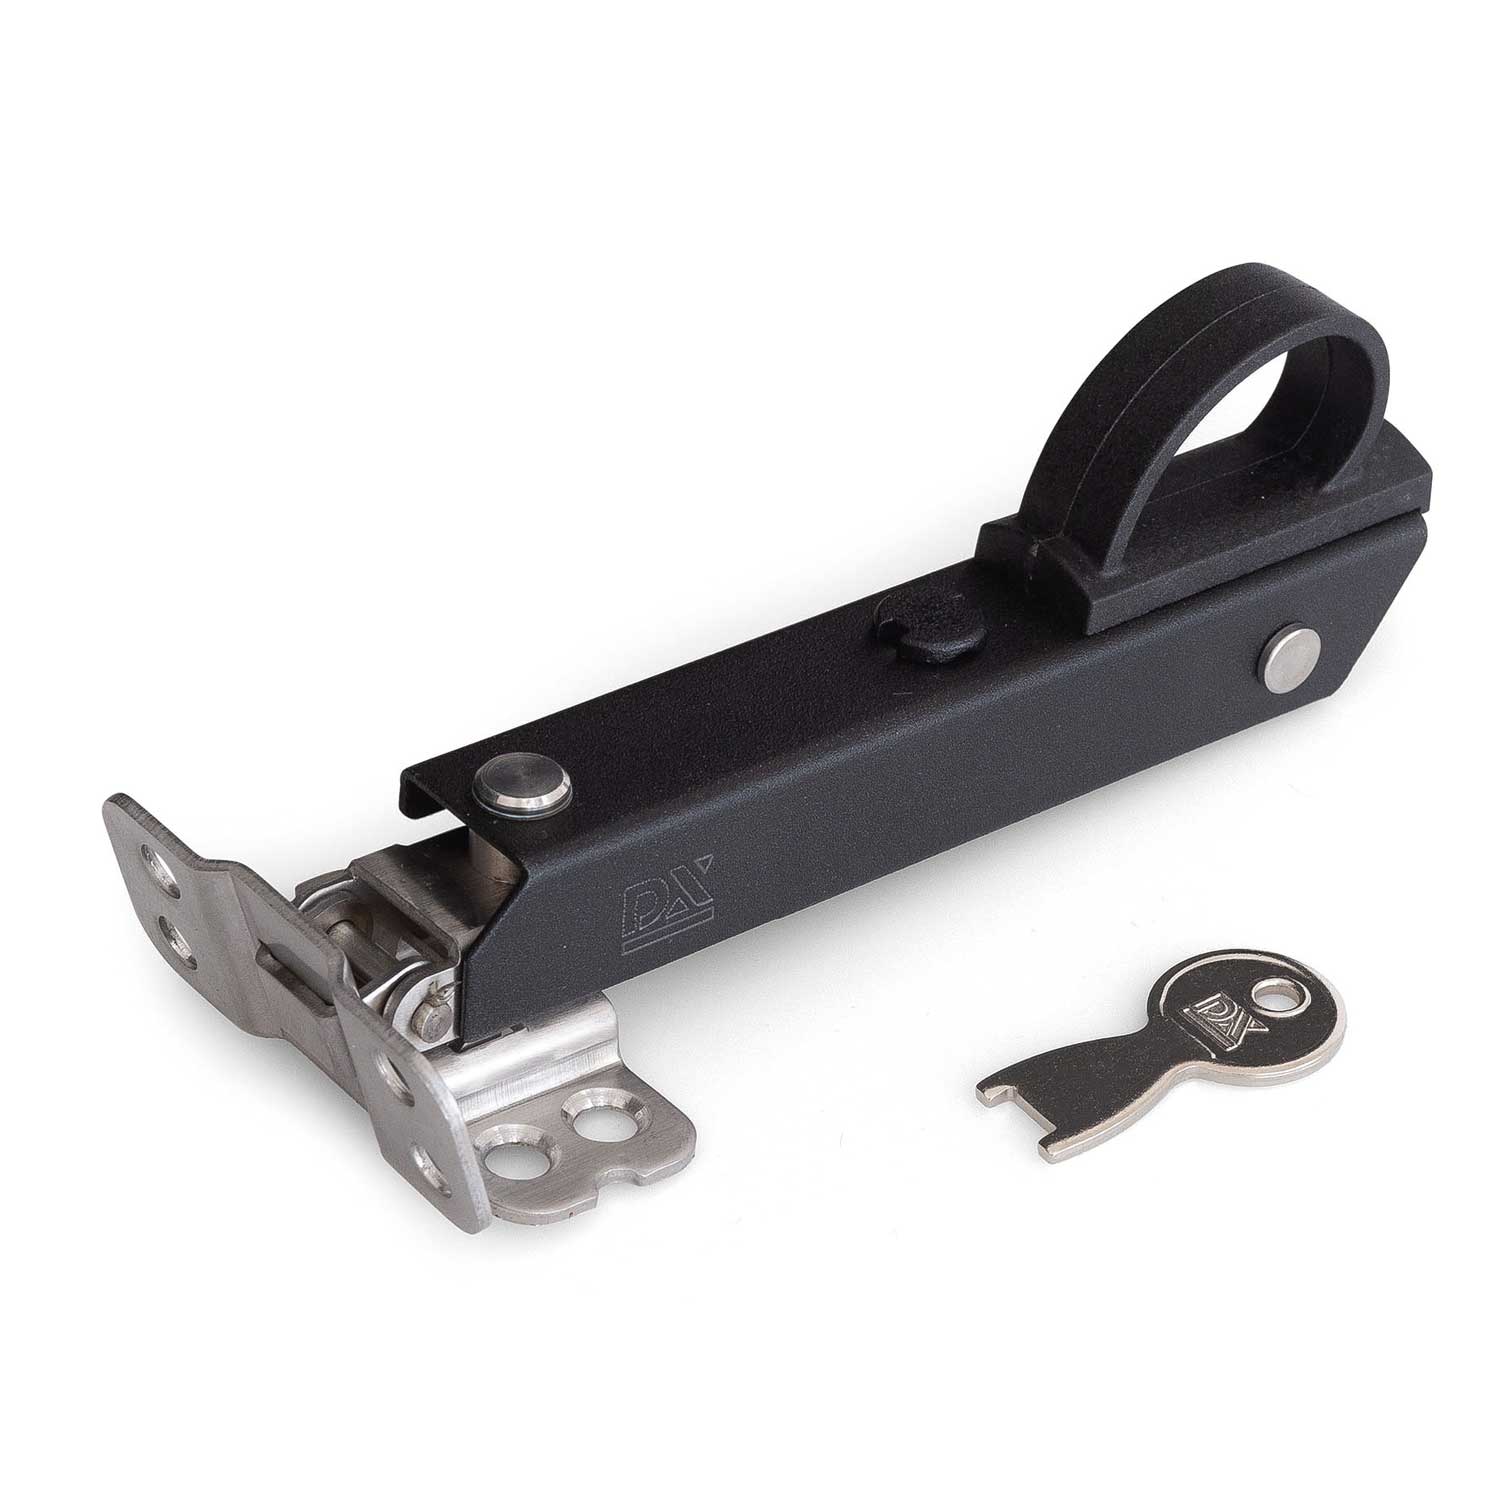
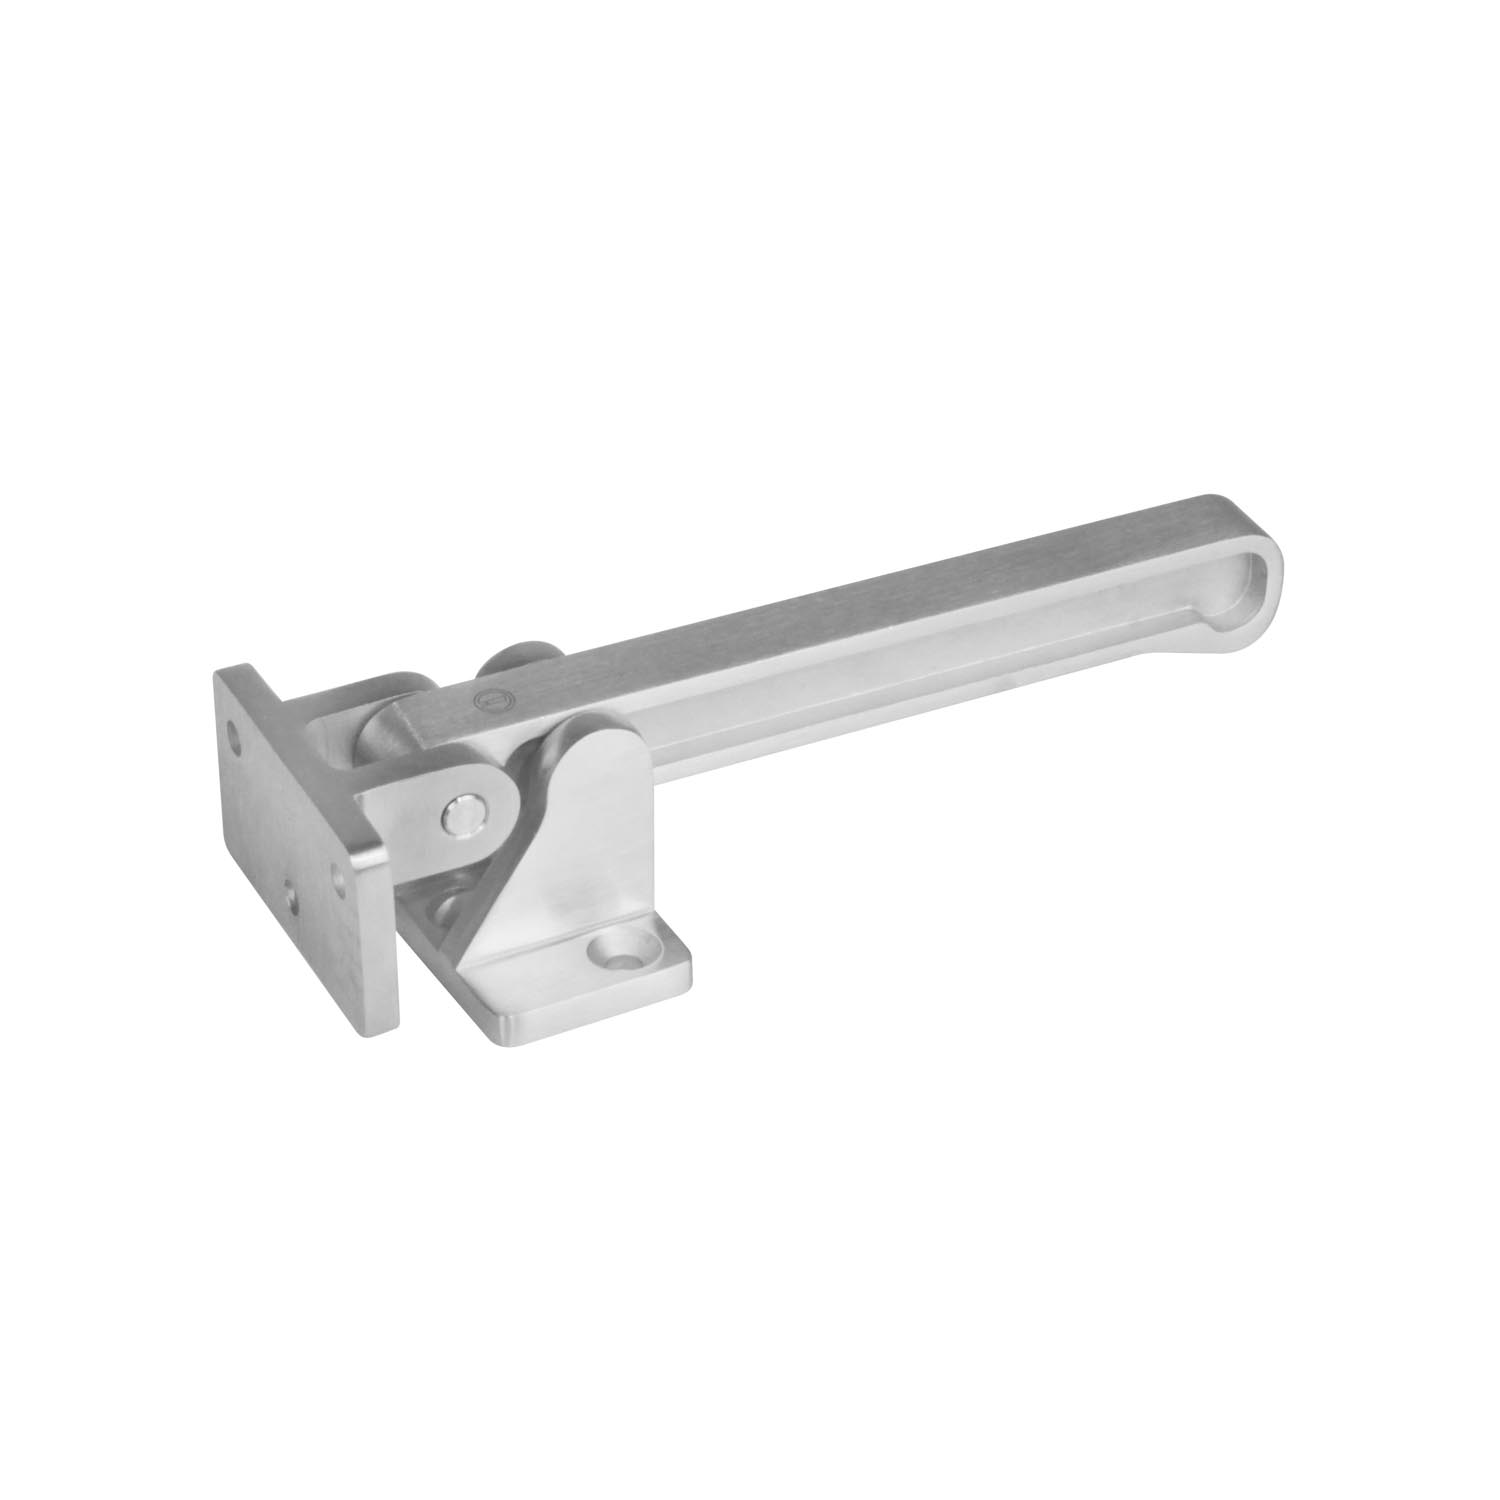
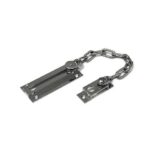
 Door holders
 Back door fittings on rosette
 Back door fittings on Rosette Sets
 Stainless Steel Back Door Fittings on Rosette Set
 Black Rear Door Fittings on Rosette Set
 Back door fittings on Rozet Los
 Other
Other
 Door handles
 Complete front door set
 Mailboxes
 Doorbells
 House numbers
 Door knockers
 Door holders
 Toilet rosette round
 Brass Tumbled
 Toilet rosette square
 Toilet spills
 Key rosette round
 Brass
Brass
 Cylinder rosette round
 Gray
Gray
 Cylinder rosette square

 Safety rosette round
 Letter plates
 Draft barriers
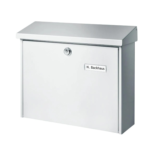 Wall-mounted mailboxes
 White
White
 Brown
Brown
 Barrel locks
 Bathroom & Toilet locks
 Cylinder locks
 (Meter) Cabinet locks
 Keyboard locks
 Magnetic locks
 Security locks
 Additional locks
 Multi-point lock
 Electronic Locks
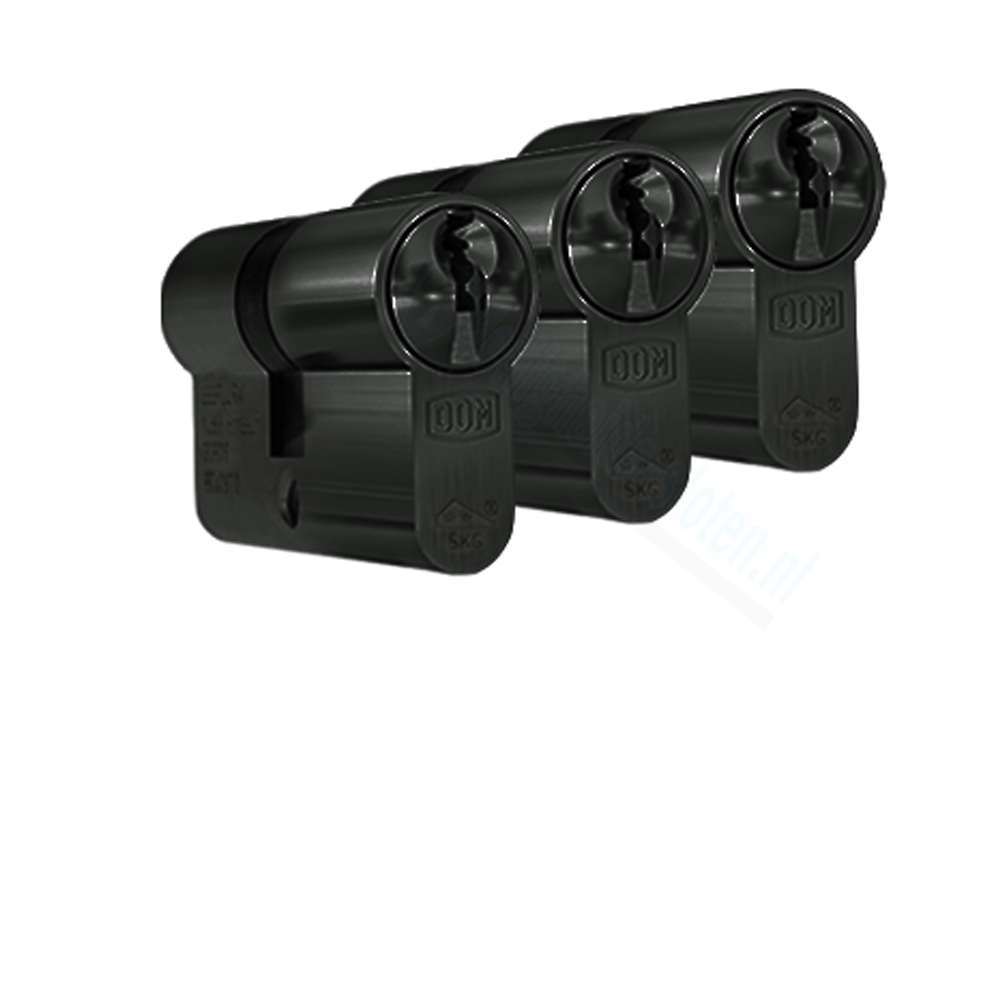
 SKG 2 Star Cylinders
 SKG 3 Star Cylinders
 Knob cylinders
 Cylinders without SKG Quality Mark
  Closing bowl
 Keeping plates
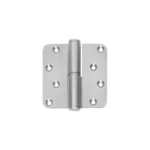
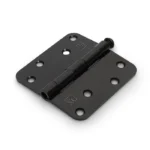
 Ball bearing hinges


 Paumelles
 Pivot hinges

 other hinges
 Plain bearing hinges
 Hinges with loose pin
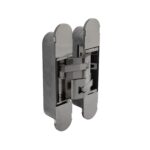
 Invisible hinges
 Bommer hinges
 Pivot door hinges
 Decorative sleeves

 Window handles standard
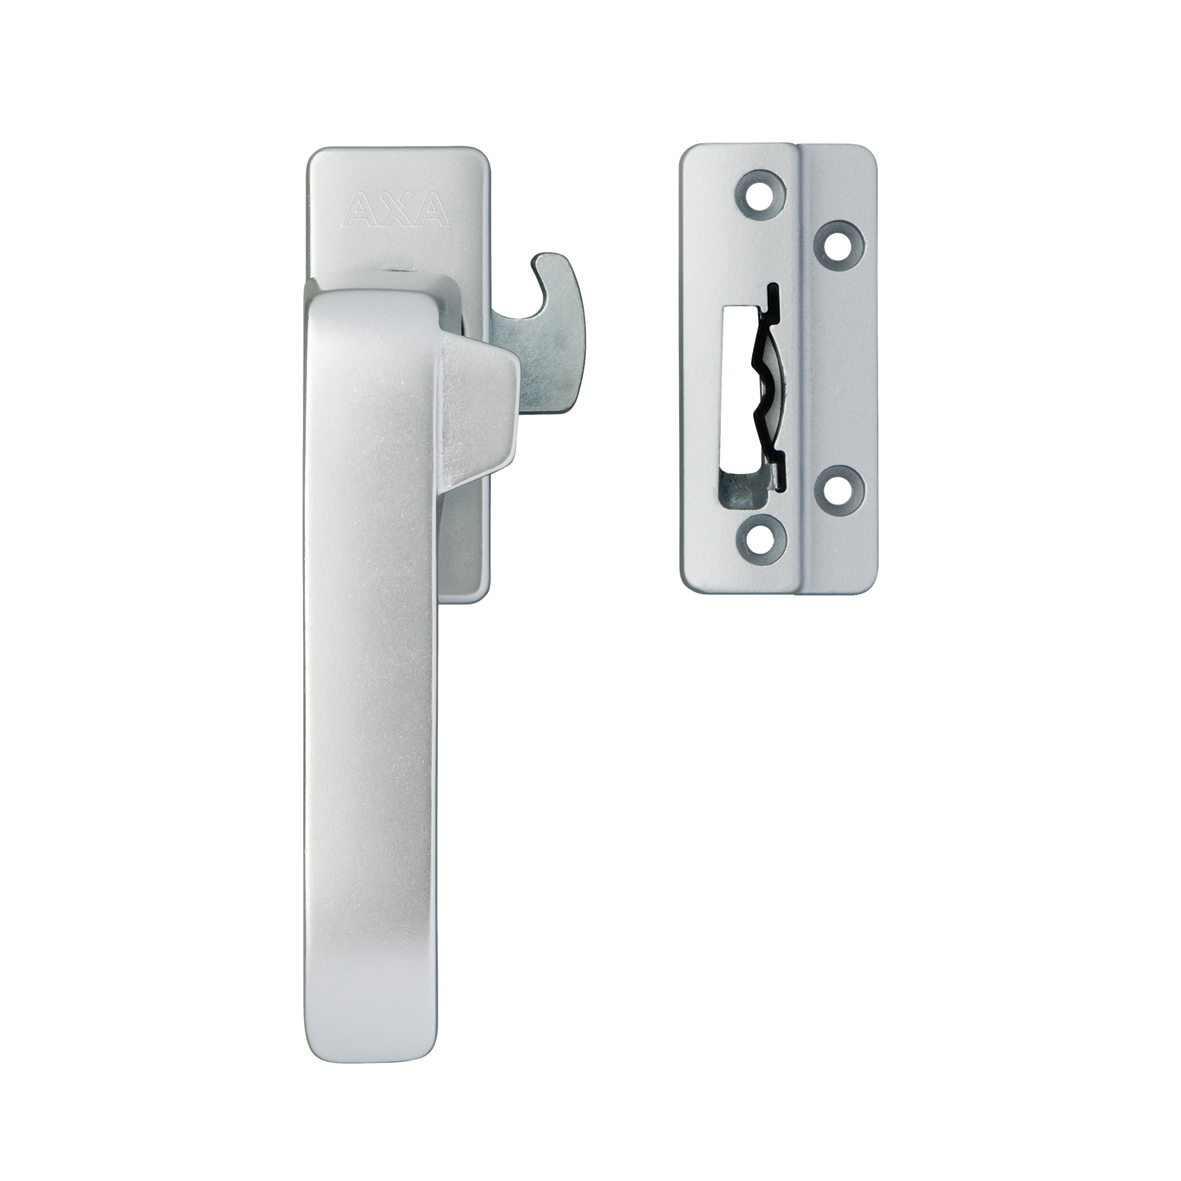
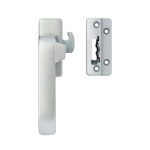 Standard window closures
 Door holders
 Vent holders for windows
 Stainless steel
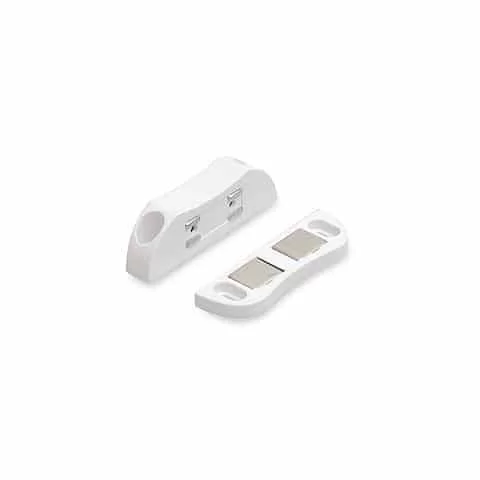
 Magnet snapper
 Roller slider
 Hatch rings
 To notice
 Intersteel


 Sliding door systems
 Stainless steel sliding door system
 Sliding door system Black
 Sliding door system Antique
 Lift sliding door fitting
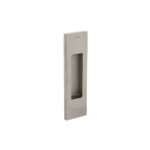
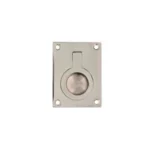
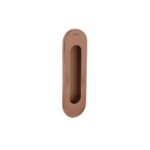 Sliding door bowls
 DIY Sliding Doors


 Door Hardware Sets
 Edge sliding
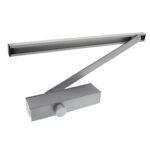 Door closers
 Push plates - Door plates
 Door knockers
 House numbers
 Wardrobe
 Carriers
 Furniture fittings
 Hinges & Paumelles
 Markers
 Fastening material
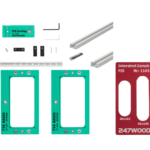 Milling jig sets
 Door spies
 Thieves Claw
 Slides and latches
 Key boxes
 Rosettes
 Espagnolettes
 Door handles
 Toilet and bathroom accessories
 Door and gate springs
 Cheap door fittings
 Interior door fittings
 Security fitting
 Window fittings


 Aprile
 Artitec
 Intersteel
 Hafi
Hafi
 Formani
 Olivari
 Stile
Stile
 Strong
 Hard brass
 Axa
Axa
 Imprint
 D4E
D4E
 Formani
 Dieckmann
 Cisa
Cisa
 Stupid
 Dulimex
 Lips
Lips
 Nemef
Nemef
 Pfaffenhain


 Door handles on rosette
 Anthracite Gray Door Handles
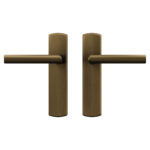 Door handles on shield
 Toilet Closure Round
 Toilet Closure Square
 Toilet overflow
 Key rosette Round
 Key rosette Square
 Profile cylinder Rosette Round
 Profile cylinder Rosette Square
 Profile cylinder Rosette Oval
 Profile cylinder Rosette Rectangular
 Knob crank (rotatable)
 Door knob on rosette (not rotatable)
 Door knob on shield (not rotatable)
 Door knob sets
 Door knob sets rotatable/rotatable
 Fixed/rotatable door knob sets
 Fixed/fixed door knob sets
 Sliding door bowl
 Icons
Icons Security fitting
 Front door fittings
 Back door fitting on Rosette
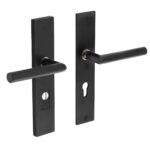 Back door fitting on Shield
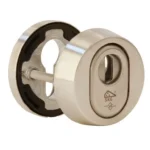 Safety rosette
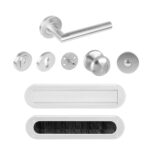 Door fitting sets
 Mailboxes
 Letter plates
 Draft barriers
 Wall-mounted mailboxes
 Plastic mailbox
 Parcel mailboxes
 Door handles
 Door handles without rosette
 Door handles on rosette
 Front door knob
 Extra security & locks
 Letter plate
 Draft proofing
 Wall-mounted mailboxes
 Plastic mailbox
 Inner door mortise locks
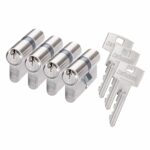 Cylinders
 Closing bowl
 Ball bearing hinges
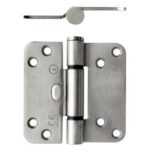
 Safety hinges
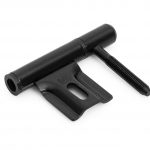 Paumelles
 Other hinges
 Window closure
 Window stays
 Closing bowls
 Window cutting
 Window drop scissors
 Furniture knobs
 Furniture handles
 Magnetic snappers
 Sliding door bowl
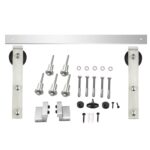 Sliding door systems
 Lift sliding door fitting
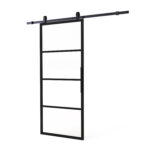 DIY Sliding Doors
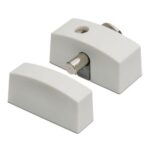 Locks
Locks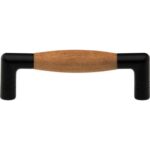 Furniture Hardware Offers


