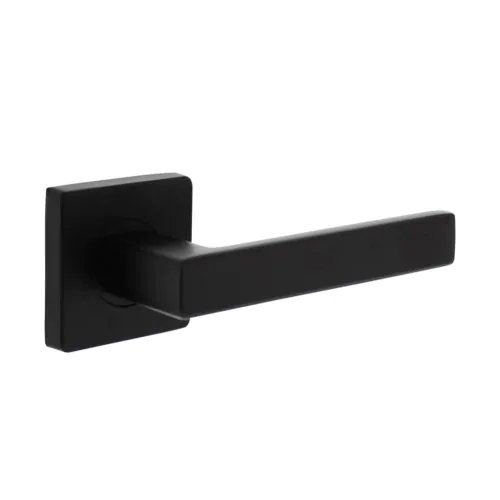
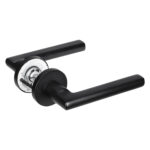
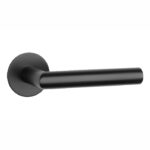
Door handle on rosette
The most beautiful door fittings on rosette
 Matt black
 Stainless steel brushed
 bronze
 Aluminium
 Chrome
 Chrome Matt
 Nickel Matt
 Antracite grey
 Brass Lacquered
 Brass Tumbled
 Brass Unlacquered
 Buyer
Buyer
 Gold
Gold
 White
White
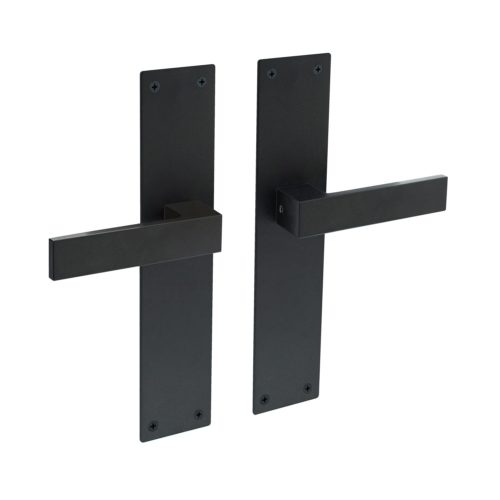
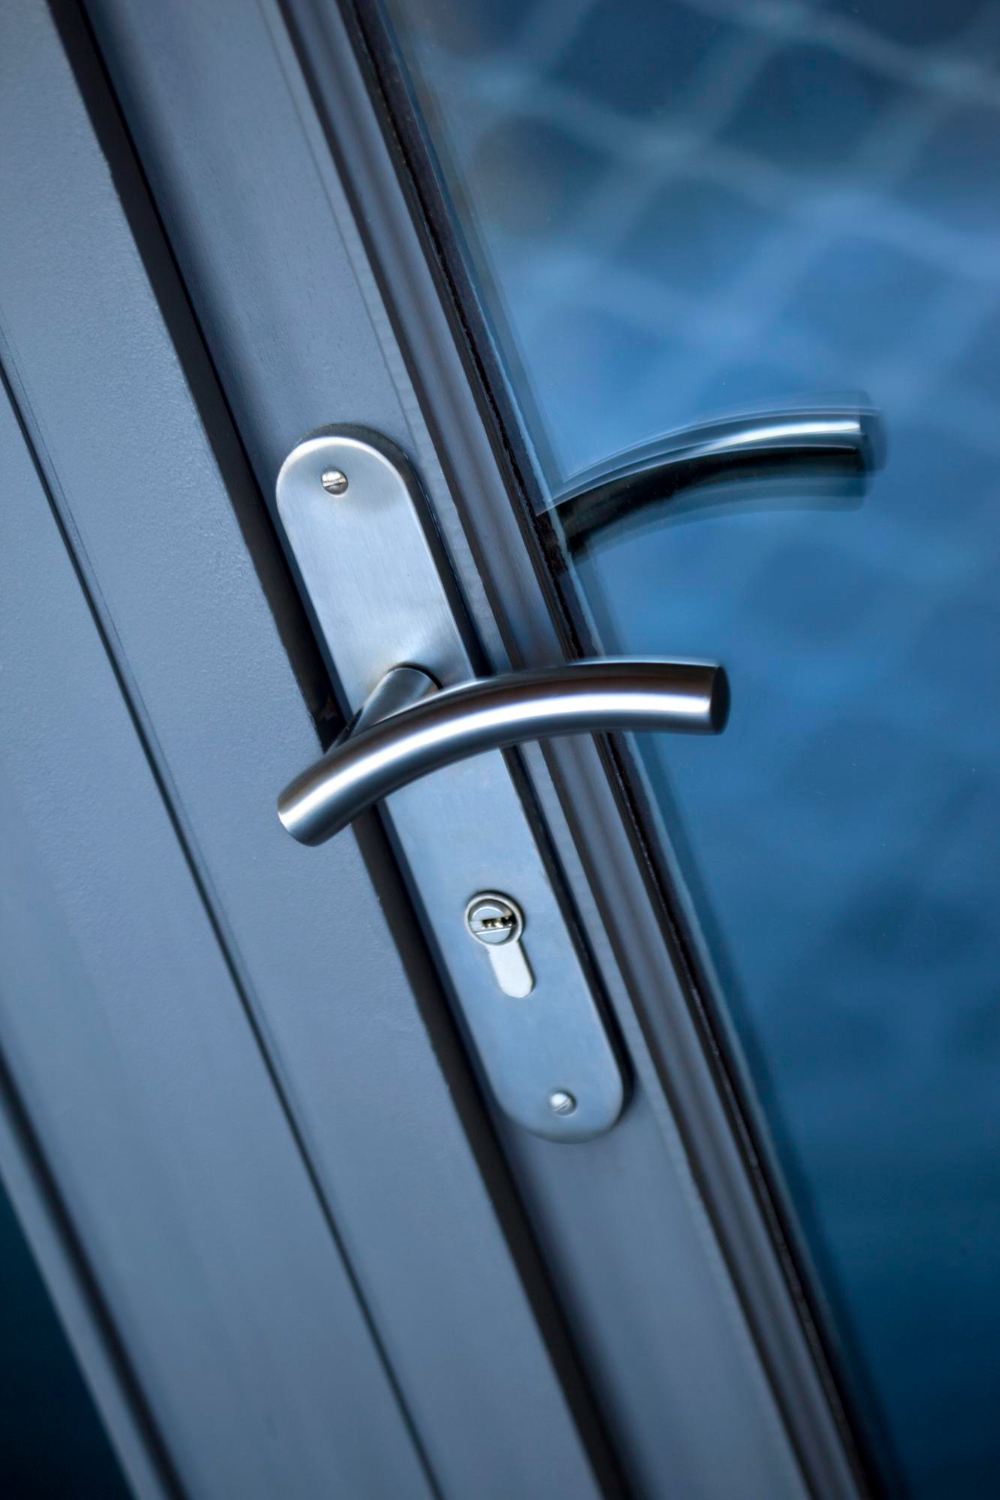
Door handle on shield
View all door handles on shield here
 Brass Titan PVD
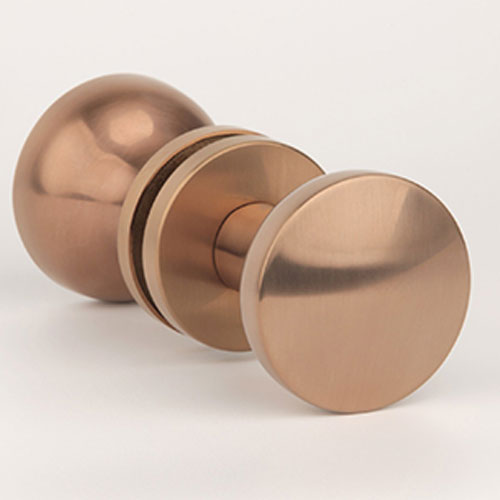
Doorknobs
For a sleek look
 Door knob on rosette (not rotatable)
 Door knob on shield (not rotatable)
 Knob crank (rotatable)

Rosettes
Suitable for door handles on rosette
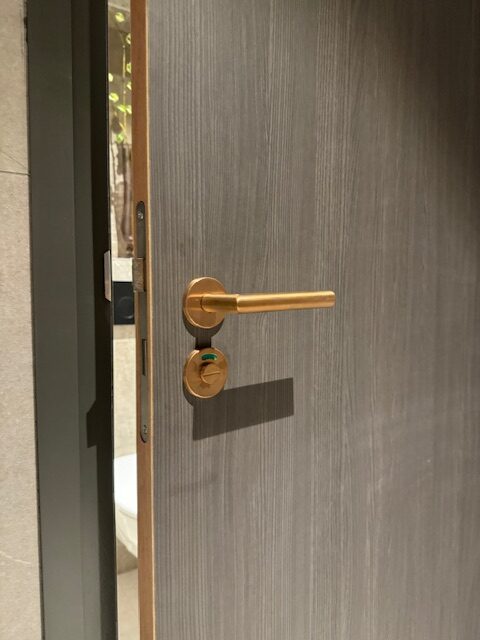
 Interior door fittings
The most beautiful door fittings on rosette
View all door handles on shield here
For a sleek look
Suitable for door handles on rosette
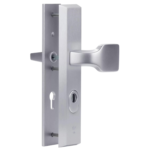
 Exterior door fittings
 Rosettes

Enjoy in peace and quiet

For the bedroom door or meter cupboard

For lockable interior doors
 Mailboxes

In various colors
Environmentally conscious choice
Traditional and simple

Price-conscious choice
Prevent missed packages
 Locks & Cylinders
Ideal for interior doors

For exterior doors
New in our assortment
Sleek design
 Hinges & Paumelles
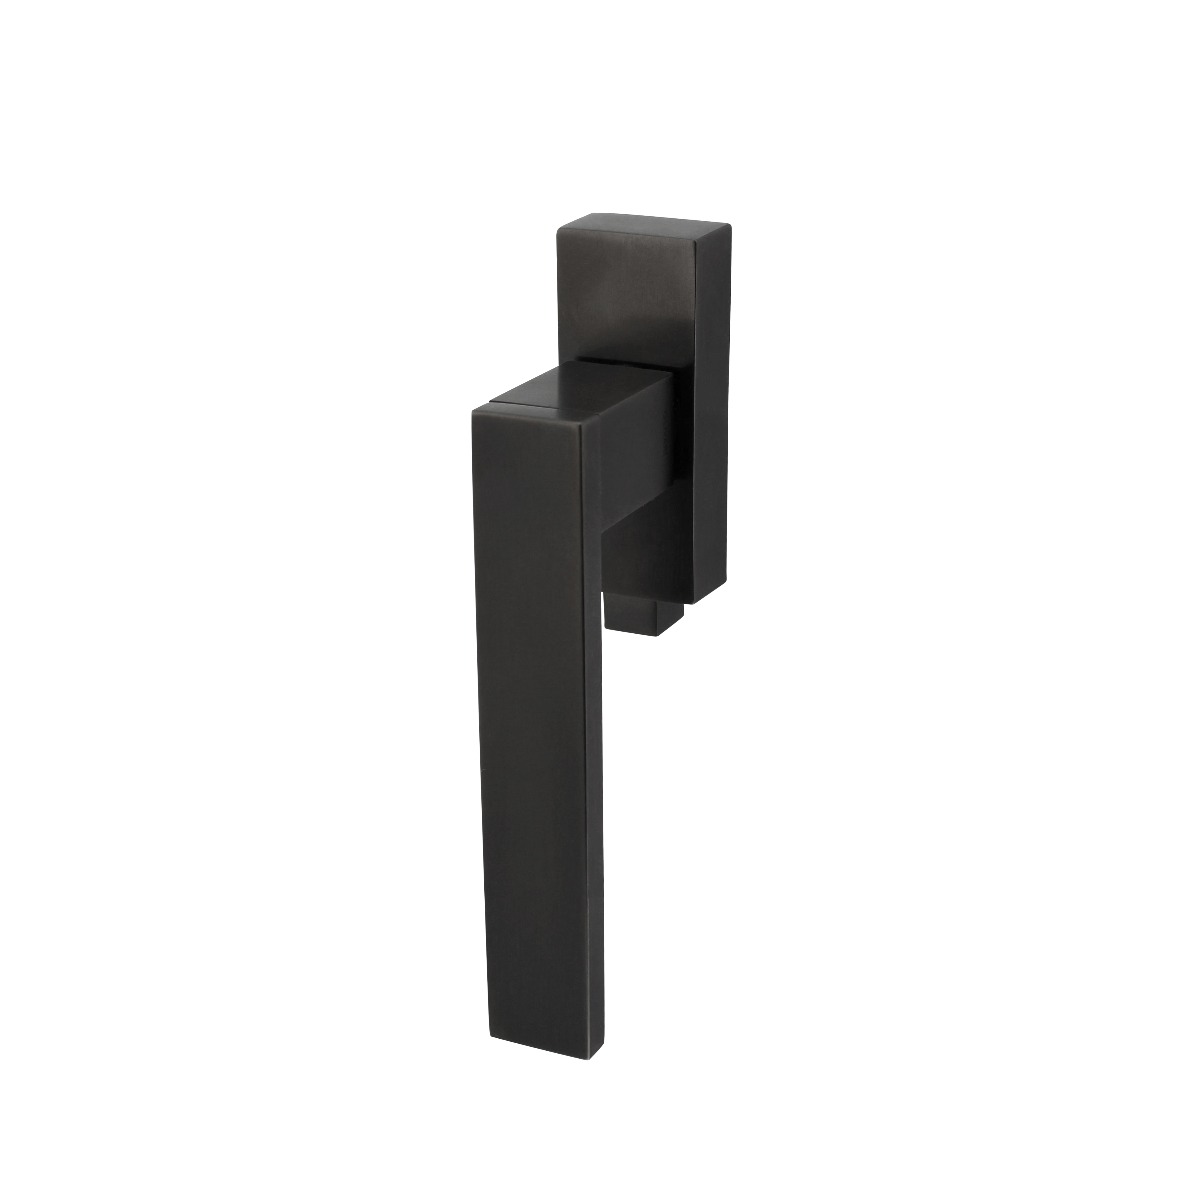
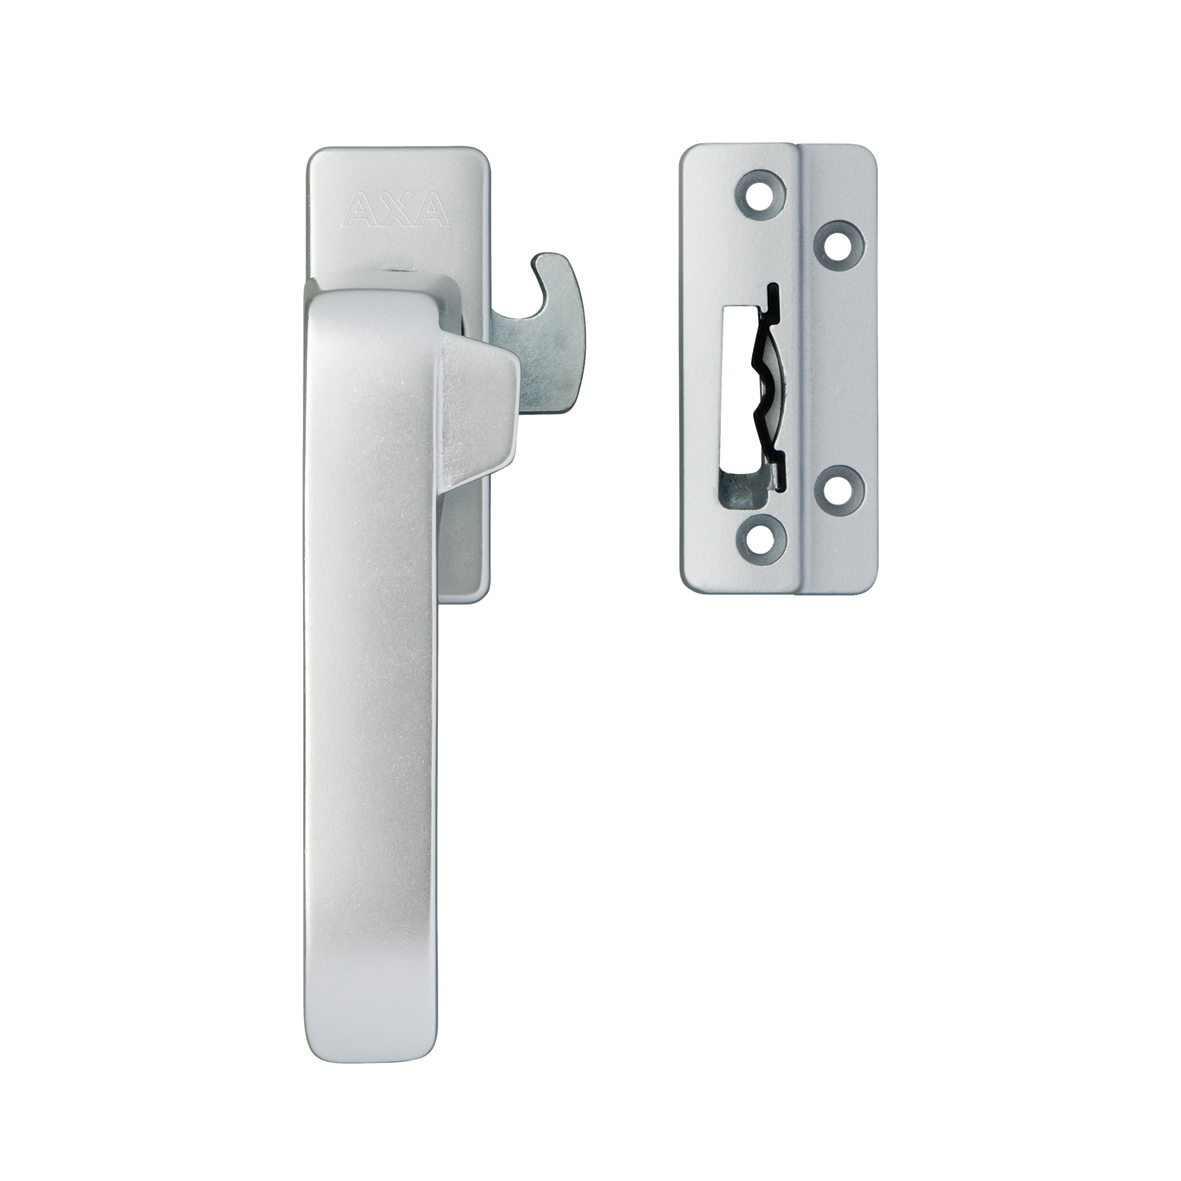
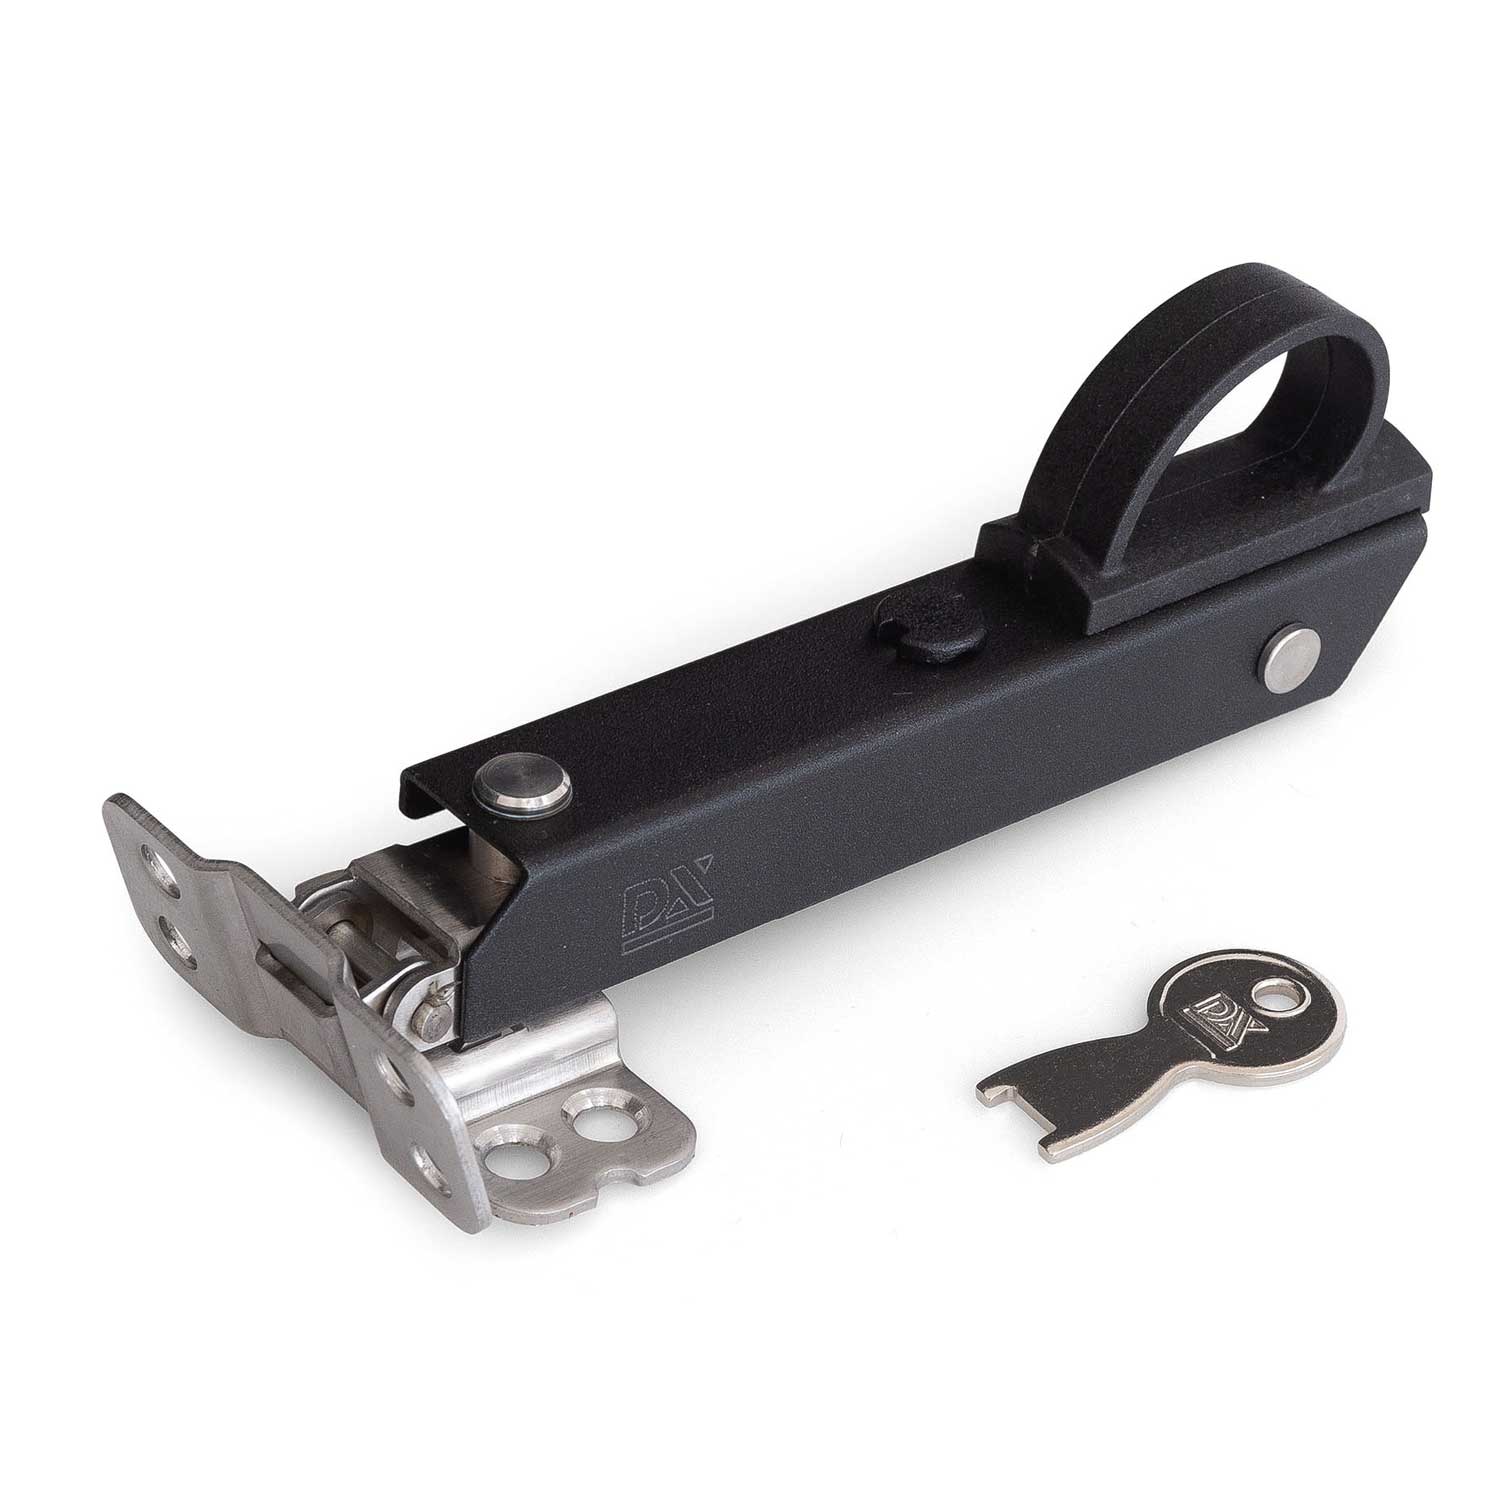
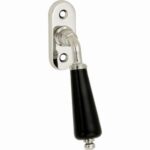
 Window fittings
Turn-tilt closures
With window trees
Enjoy in peace and quiet
Enjoy in peace and quiet

Competitive price
 Furniture fittings
Different shapes and sizes
Handles for cabinets
For cupboard doors and drawers
 Sliding door fittings
 Other
Other
 Offers
 To notice

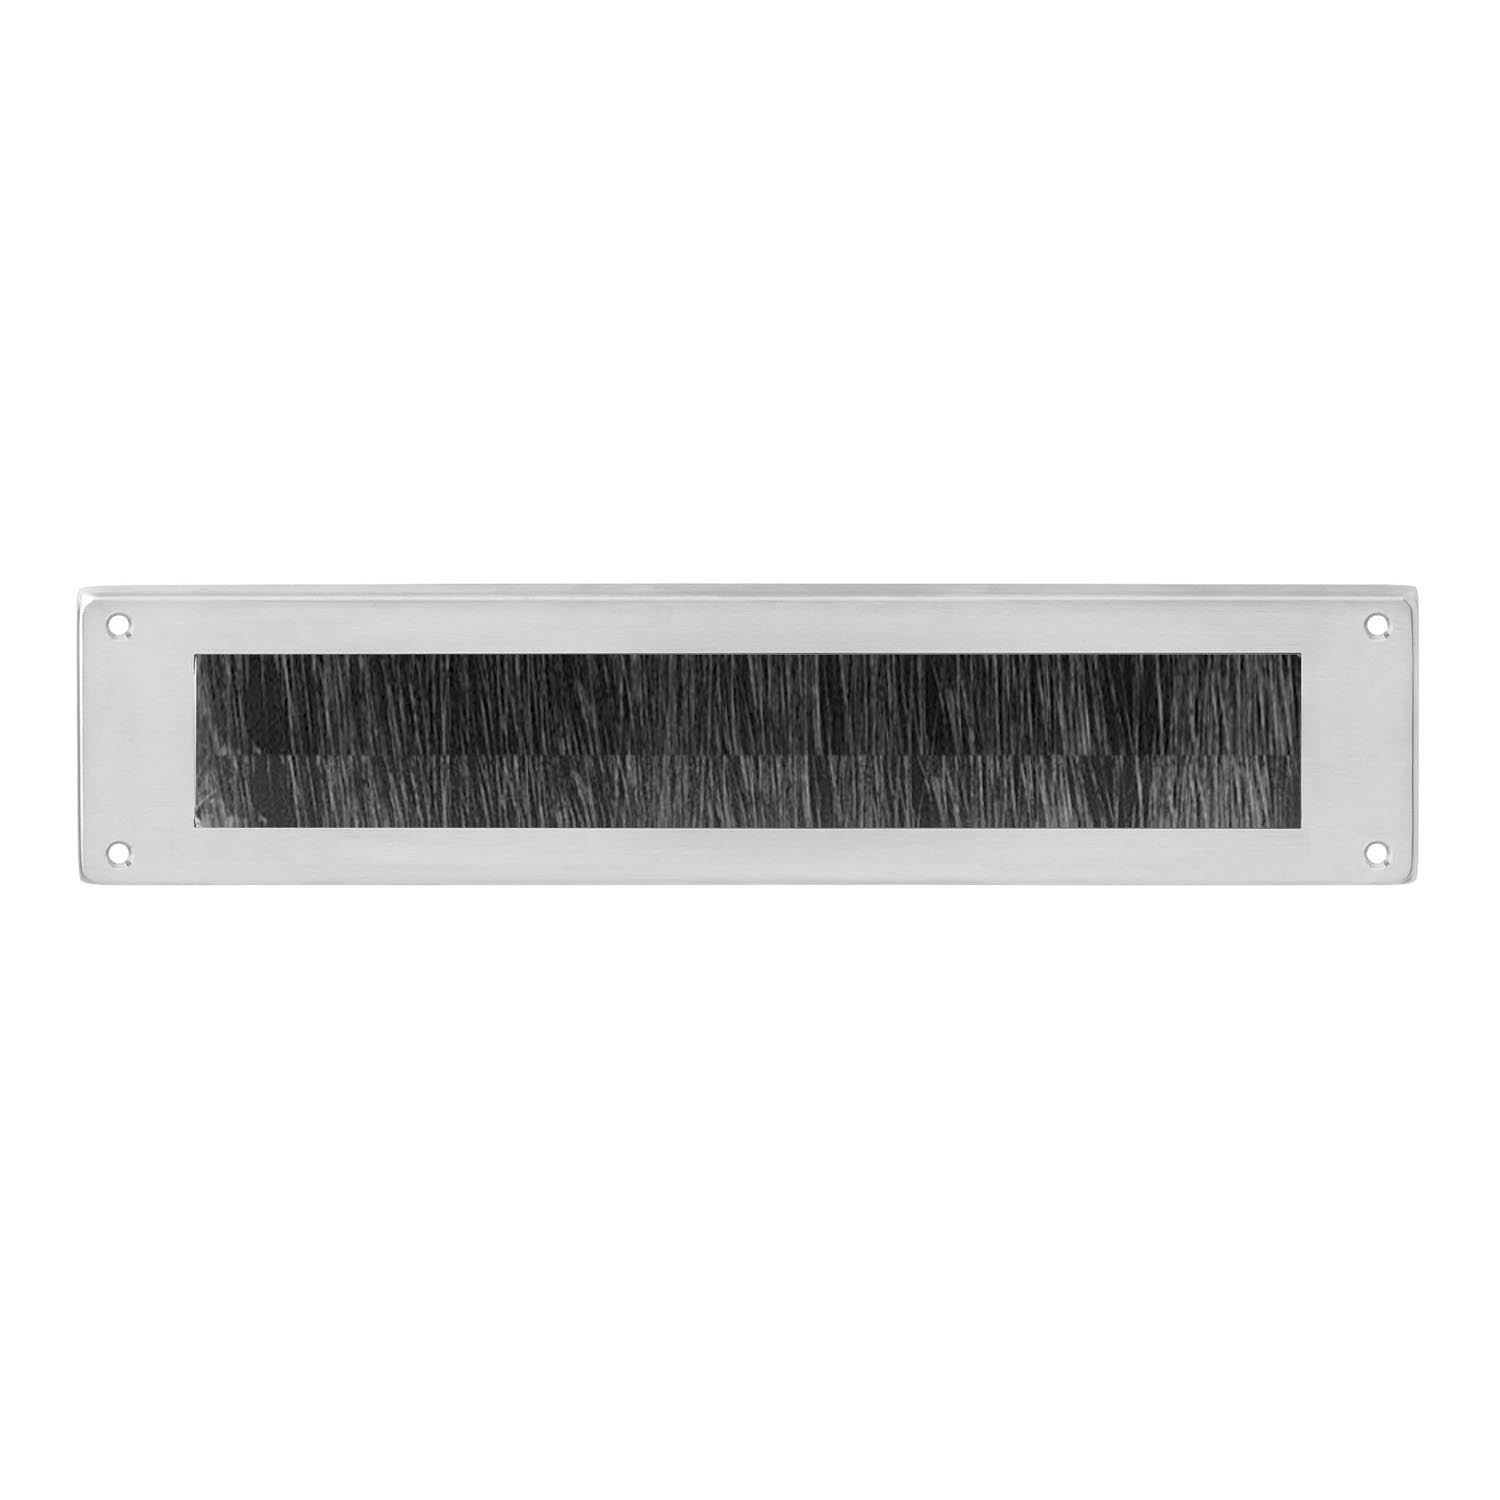
Installing a letterbox valve seems like a simple job, but if you do not tackle it correctly, it can cause damage to your door. Many people underestimate how important a good letterbox valve installation is, while this can make a big difference for the sustainability and appearance of your front door. In this guide we explain step by step how you can install a letterbox valve without problems. With the right approach you can attach the valve firmly and professionally. Follow these instructions and enjoy a tightly finished and perfectly functioning letterbox.
Installing a letterbox valve may be necessary for various reasons. Maybe your old valve is worn out, he rattles or he no longer closes well. This can ensure that a draft passes through the opening, which causes unnecessary heat loss and higher energy costs in the winter months. A worn valve can also ensure that rain and dust come in through the letterbox, which can lead to a dirty floor or even moisture damage to your interior. Installing a new letterbox valve can be a small but effective upgrade for the appearance of your front door.
Nowadays there are different models available, such as valves with draft protection or extra sturdy variants that are more resistant to strong wind. In addition, a stylish letterbox valve can perfectly match the appearance of your home. By installing a letterbox valve that fits your door, you ensure a neat finish and you increase the functionality of your letterbox.
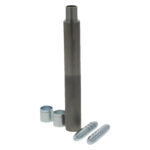
If you want to install a letterbox valve, you need the right materials and tools. Without good preparation it can be difficult to mount the valve firmly and straight. The most important materials you need for installing a letterbox valve are a new letterbox valve, the correct screws and a screwdriver or cordless drill.
In addition, a measuring tape and pencil is useful to carefully draw the position of the valve. If you have to make a new recess in the door, you also need a saw and sandpaper to finish the edges smoothly. For extra insulation you can use draft strips, which is especially useful if you suffer from cold air that comes in through the letterbox. It is important to check in advance whether your door is thick enough for the new letterbox valve, so that the assembly runs smoothly. With the right materials and a little patience you can install a letterbox valve without any problems and you ensure a perfect result.
At Doorbeslag Expert you will discover a versatile collection of top-quality door fittings, designed to be both functional and stylish. Our range includes everything you need to finish your doors and windows perfectly: from door handles , door knobs , door handles to complete sets and associated accessories such as rosettes , hinges , window fittings , interior door fittings . exterior door fittings , furniture fittings and sliding door fittings . We offer solutions that seamlessly match your interior wishes.
With renowned brands such as Intersteel, Olivari, Formani, Hardbrass, Impresso, Hafi, Dieckmann and AXA, we guarantee high-quality products with an eye for design and sustainability. Would you like to experience the materials and finishes yourself? Visit our showroom and be inspired. Our experienced team is ready to help you make the right choice and support you every step of the way, from advice to installation. This way you can easily turn your home or project into a stylish whole.
Installing good preparation for your letterbox valve is the key to a successful and trouble -free installation. Before you actually start installing the valve, it is very important to determine the right place on the door. The letterbox valve must be at a height that is easily accessible for mail deliverers.
In general, a height between 60 and 100 cm from the ground is recommended, depending on the preference and the height of your door. Make sure that the valve does not come too high or too low, so that the mail deliverers can access it without any problems. If you replace an old letterbox valve, you can use the same position as the previous valve, but it is always good to measure and check whether it is at the correct height.
If you place a letterbox valve for the first time and you have to make a new recess in the door, it is essential to carefully draw the dimensions with a pencil and tape measure. Start by measuring the height and width of the letterbox valve and make sure you transfer these dimensions to the door. It is important to make the opening large enough for the new valve, but not too spacious, because different drafts and play can arise. Too large an opening can also lead to unwanted air infiltration and not close the valve properly. It is therefore important to take over the dimensions of the valve with precision.
In addition, it can be useful to use painting tape or masking tape around the marked recess to protect the surface of the door against scratches when sawing or drilling. Tape also helps to define the edge of the recess, so that you can follow the lines well. This prevents you from accidentally working outside the markings and ensures a neat, tight recess.
Before you actually start sawing or drilling, it is important to check whether there are no pipes, electricity cables or other obstacles in the door that you can accidentally damage. This is an important step, because it not only guarantees safety, but also prevents you from having to perform expensive repairs at the door. If you are not sure where the pipes are, you can use a pipe finder or carefully tap the door to listen to any changes in the sound that may indicate a pipe or cable.
With a careful and accurate preparation, the process of a letterbox valve installs much easier and faster. By determining the right place, drawing dimensions well and protecting the surface, you reduce the chance of problems during your letterbox valve and ensure a tight and professional finish. Good preparation for a letterbox valve is the basis for a successful installation and contributes to a long -term functioning of your letterbox valve.
If you want to replace an existing letterbox valve, it is important to carefully remove the old valve. This prevents you from causing damage to the door and ensures that the new valve can be installed properly. Start by loosening the screws that hold the valve in place. You can do this with a screwdriver or, for more convenience, a cordless drill. Make sure you use the correct size screwdriver or bit to prevent the screws from damaging or wearing out, which can make it more difficult to remove them.
In some cases, the letterbox valve can be stuck due to old paint or kit residues, especially if the valve has been in place for a long time. Work carefully not to damage the door. Use a filler knife or a paint scraper to carefully loosen the kit or paint residues around the valve. It is important to work patiently, because by exerting too much strength, the door can damage or split. Once the valve comes loose, carefully pull it out of the recess. Check if there are no remnants of the valve in the door, such as old screws or kit residues.
After removing the old valve, it is a good idea to carefully inspect the underlying opening. Often there are remains of old screws, paint or kit that you can best remove before you continue with the installation of the new valve. Use a putty knife to loosen stubborn remains, and sand the surface with sandpaper to create a smooth and clean surface. This ensures that the new letterbox valve can be mounted firmly and straight, which contributes to the sustainability and functionality of the valve.
If you notice that there is damage to the door, such as wood rot or other damage, this is the time to restore it. Small damage can often be repaired with wood filler or filler. Make sure the surface is completely dry and smooth before you continue with the installation of the new valve. If the door shows serious damage, such as Rot, it is wise to replace these parts before you install a new valve. Repairing damage ensures that the valve is mounted firmly and safely.
By carefully removing the old letterbox valve and preparing the surface well, you lay a solid foundation for a successful installation of the new valve. A well -prepared surface ensures that the new letterbox valve not only functions well, but also lasts longer, because it prevents future problems, such as drafts or loose parts.
Now comes the most important part: install the letterbox valve. After you have ensured that the opening in the door is ready, place the new letterbox valve in the recess. Before securing the valve, it is important to check whether the valve fits well. If the valve does not fit perfectly, this can later cause problems, such as a draft or a poor finish.
Make sure the valve fits completely in the opening and is well aligned. Line the screw holes of the valve with the existing holes in the door, or mark new positions if the existing holes do not fit well. This prevents you from unnecessarily damaging the door by drilling new gaps without being well aligned.
Now use a spirit level to ensure that the valve hangs straight. This is crucial, because a skewed placement can not only affect the appearance of your front door, but it can also influence the functioning of the valve. A well -placed valve provides a sleek finish, without visible uneven lines. It can be useful to ask someone else to help you keep the valve straight while you tighten the screws.
When you have the valve in the correct position, you start carefully to tighten the screws. Do this in small steps, where you put even pressure to prevent the screws from skewed or damaging the door. Do not tighten the screws too tightly, because this can lead to deformation of the valve or the door, especially if it is made of wood or plastic. Regularly check whether the valve stays properly and whether the screws are not too loose or too tight. Make sure the valve is firmly stuck, but be careful not to exaggerate.
After installing the letterbox valve, it is important to check whether it opens and closes smoothly. If the valve clamps, squeaks or does not close properly, this may indicate a problem with the hinges or the placement of the valve. Check if there are no obstacles that hinder the movement of the valve and, if necessary, adjust the hinges or apply extra lubricant to make the valve move smoothly. The valve must easily open and close, without resistance or rattling.
If desired, you can apply draft strips to the inside of the letterbox valve. These comics not only help to reduce drafts, but can also reduce no outside noise. They contribute to better insulation of your house, especially in winter, when cold air can easily enter through the letterbox. Make sure the strips fit well and are firm.
Installing a well -placed letterbox valve is not only important for the aesthetics of your front door, but also improves the insulation and functionality of your house. By working carefully and adjusting the valve properly, you ensure that your letterbox valve continues to function without any problems for years. The result of a good letterbox valve is not only a neat finish, but also an efficient, well -insulated letterbox that contributes to the comfort of your house.
After installing your letterbox valve, it is essential to perform a thorough last check to make sure everything works well and that the finish is tidy. Start by opening and closing the valve several times to check whether it moves smoothly and without obstacles. If the valve is difficult to open or closes, this may indicate a problem with the hinges or the placement of the valve. Adjust this or apply some lubricant to improve the movement. It is important that the valve functions smoothly, so that it easily opens and closes, without being stuck or squeaking.
Then check that all screws are securely stuck. If you notice that some screws are loose, carefully tighten them a little tighter. It is important to ensure that the valve is firmly attached, but be careful not to tighten the screws too tightly, especially with wooden or plastic doors, because this can damage the door or valve. A well -fixed valve prevents him from rattling or coming loose.
If there are sharp edges or blackberries around the opening of the door, for example by sawing or drilling, carefully sand away these rough spots with sandpaper or a file. This ensures a tight, neat finish and prevents the door or letterbox valve from being damaged when opening and closing. Sanding the edges not only makes the installation more visually more beautiful, but also prevents damage or discomforts to occur later.
If you have applied draft strips, it is important to check whether the valve closes properly without being blocked by the strips. Make sure that the strips do not get in the way and that the valve still close properly without air or water infiltration. This is especially important if you want to improve the insulation of your house or prevent drafts.
Finally, clean the surface and remove any pencil markings, saw residues or dust from installing. This ensures a clean, neat appearance of your door and letterbox valve. Use a damp cloth to wipe the surface clean and make sure that no dirt or residues are left behind.
By carefully carrying out this last check, you ensure that your letterbox valve is perfectly completed. Not only does this ensure a clean result, but it also contributes to the durability of the valve. Are you going to install a letterbox valve? With a well -installed and finished letterbox valve you can be sure that you will have no problems for years and that your front door looks neat and tidy.
Installing a letterbox valve may seem like a simple job, but there are several common mistakes that can be made easily. These errors can not only influence the appearance of your front door, but also the functionality of the letterbox valve. It is important to pay attention to a few things to ensure that you do the job well.
One of the most commonly made errors in a letterbox valve installing is not properly measuring the opening in the door. If the recess is too large, the letterbox valve can be loose or not close properly, which can lead to a draft and a sloppy finish. This can not only cause loss of warmth in the winter, but also an unwanted appearance of your door. On the other hand, if the opening is too small, the mail may not fit well through the letterbox, which can be very frustrating. It is essential to properly match the dimensions of the valve to the recess in the door to prevent these types of problems.
Another common mistake in installing a letterbox valve is the skewed mounting of the valve. This can not only look messy, but it can also hinder the functioning of the valve. If the valve does not close properly or hangs skewed, this can lead to drafts, water -pimping or other inconveniences. Make sure you use a spirit level when installing the valve, so that it hangs straight and firmly. In addition, it is important to tighten the screws evenly, so that the valve does not come under voltage and functions well.
Another common mistake if we are talking about installing a letterbox valve is not tightening the screws properly. If the screws are too loose, the valve can rattle or even come loose. This can shorten the life of the valve and ensure uncomfortable sound. Tighten the screws firmly during a letterbox valve, but be careful that you do not turn on them too tightly, especially with wooden or plastic doors. Too tightly tightened screws can damage the door or the valve, which can later lead to problems such as breaking the valve or the deforming of the door.
Another error that often occurs with letterbox valve installing is not checking for a trip. Without good draft protection, cold air can come in, which can be very annoying especially in the winter. This can not only ensure an uncomfortable temperature in your house, but also for higher heating costs. In the case of a letterbox valve, it is important to ensure that the valve close properly and that there are no cracks or openings so that air can penetrate. The use of draft strips or a good seal around the valve can help prevent these problems.
Finally, with a letterbox valve, it is often forgotten to take good care of the finishing of the letterbox valve. It is important to finish the edges of the opening well and to place the valve neatly in the door. This ensures a professional appearance and prevents dirt and moisture from accumulating around the valve.
By measuring well in advance, working carefully and paying extra attention on details such as the screws and draft protection, you can achieve a perfect result in your letterbox valve. Avoiding these common errors during your letterbox valve ensures that your valve functions optimally and has a nice, sustainable finish. Curious about installing more information about a letterbox valve? Then take a look at our extensive online knowledge base for everything to do with door fittings.
After installing a letterbox valve you naturally want it to last for as long as possible. Regular maintenance is therefore essential to ensure that the valve remains in good condition and continues to function optimally. A letterbox valve is used daily and is exposed to weather influences, such as rain, snow, sun and wind. This allows dirt, dust and moisture to accumulate, which can be harmful to the valve over time. With metal valves this can lead to rust, while plastic variants can discolour through the sun. Regularly cleaning the valve prevents these problems and ensures that the valve keeps looking neat.
Cleaning the letterbox valve is easy. Use a damp cloth and a mild detergent to take the valve. This prevents the accumulation of dirt and prevents the valve from looking sloppy. With stubborn stains you can use a mild cleaning agent, but avoid aggressive chemicals that can damage the flap finish. With metal letterbox valves it is important to keep an eye on the hinges and movable parts. Over time, the mechanism can get clogged by dirt or rust, which hinders the functioning of the valve.
To prevent this, it is wise to apply a little oil or lubricant to the hinges from time to time. This keeps the valve smooth and prevents the hinges from squeaking or getting stuck. The lubricant ensures that the valve easily opens and closes, which not only increases the ease of use, but also extends the lifespan of the valve. The application of lubricants must be done in moderation, so that there is no excess residue that can attract dirt.
For plastic or aluminum valves, a protective coating can help prevent discoloration from the sun. These coatings protect the valve against the harmful effects of UV radiation, so that the valve retains its original color and appearance for longer. It is also important to regularly check the condition of the valve itself. Small cracks or cracks in the material can expand further over time, which influences the functionality of the valve. It is therefore advisable to regularly inspect whether there are no damage.
In addition, it is important to regularly check the confirmation screws of the letterbox valve. Due to exposure to weather conditions, screws can come loose or rusted. This can ensure that the valve does not close properly or does not move properly. If you notice that the screws are not stuck properly, you can easily tighten them with a screwdriver. If the screws are visibly rusted or damaged, it is wise to replace them to prevent further damage to the valve or the door.
If you notice that the valve is not closing properly or that it is starting to squeak, this may indicate a problem with the hinges or the mechanism. In many cases you can easily remedy this by re -adjusting the valve or redeem the hinges. Sometimes it may be necessary to adjust the valve a bit so that it closes well again. This is a quick and simple job that can prevent many problems.
By properly maintaining your letterbox valve, you extend the life of the valve and you continue to enjoy a well -functioning and aesthetically attractive letterbox. Maintaining the letterbox valve is not only important for the operation, but also for the appearance of your front door. A well -maintained letterbox valve ensures that your front door looks neat and tidy, which contributes to the overall appearance of your house.
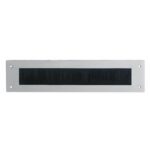
Are you considering installing a letterbox valve? Tour through the letterbox can be a major problem, especially in the cold months. Fortunately, there are some smart solutions to reduce this after installing your letterbox valve. One of the best ways to combat draft is the use of a letterbox valve with built -in draft protection. These valves often have a brush system or rubber strip that prevents cold air from entering.
If you have already installed a letterbox valve without draft protection, you can add individual draft strips on the inside of the letterbox. These strips ensure that the opening closes properly without the valve clamping. It is also important to check whether the letterbox valve closes well and is not skewed, because small openings can already cause a lot of drafts.
Another option is to install a letterbox inner valve. This is an extra valve on the inside of the door that offers extra protection against draft and sound. These are easy to assemble and can make a big difference in insulation. By taking these extra measures, you ensure that your letterbox valve installation is not only neat, but also energy -efficient and comfortable.
An additional tip is to opt for a letterbox valve with magnetic closure. This prevents the valve from blows open through the wind and reduces draft considerably. In addition, it helps to check the edges of the letterbox opening for cracks and cracks. Use kit or insulation tape to seal any air leaks.
For houses with an old or poorly insulated door, a full draft brush or a thermal letterbox valve can be a good investment. These models have thicker insulation materials and close the opening completely. Finally, it is smart to regularly check whether the spring mechanisms and hinges of the letterbox valve function properly.
Installing a letterbox valve is a simple job if you follow the right steps and work well prepared. It is important to accurately measure, use the right materials and take into account draft protection and safety. By avoiding common mistakes and properly maintaining your letterbox, you ensure that it will last for years and contributes to a neat and well -insulated front door.
Are you going to install a letterbox valve? With the right letterbox valve you not only improve the appearance of your home, but you also ensure extra comfort and protection against draft and weather influences. Hopefully this manual will help you effortlessly install a letterbox valve and enjoy a perfectly finished letterbox. Good luck with your job!
You can find door fittings that perfectly match your interior and practical needs at Door Fittings Expert . Our extensive range offers countless options in various designs and finishes. Each product is carefully crafted from high-quality materials, so you can count on a refined look and a long lifespan.
Our experienced specialists are ready to guide you in making the best choice. Thanks to our expert advice, you can effortlessly find door fittings that are not only stylish but also functional. Would you like to see our products in real life first? In our showroom you can admire all styles and finishes and gain inspiration for your project. contact us for more information or personal advice Our friendly team is happy to help you choose the ideal door fittings to give your home a stylish upgrade.
 Interior door fittings
 Door handles
 Rosettes
 WC Closure / Toilet rosette
 Keyhole rosette
 Cylinder Rosette
 Blind rosette
 Doorknobs
 Other
Other
 Exterior door fittings
 Mailboxes
 Locks & Cylinders
 Hinges & Paumelles
 Window fittings
 Furniture fittings
Sliding door fittings
Furniture fittings
Sliding door fittings
 Offers
No account yet?
create an account
Title or link

Title or link

Title or link

Title or link
Title or link
Title or link
Title or link
 Rosettes
 Doorstops
 Espagnolettes
 Icons
Icons
 Decorative sleeves
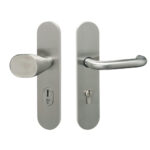
 Front door fittings on shield
 Brass Polished
 Front door knobs
 Safety rosettes
 Old Grey
 Safety rosettes for rim locks
 Back door fittings on shield
 Extra Safety
 Security strips
 Additional locks
 Door spies
 Thieves' Claws
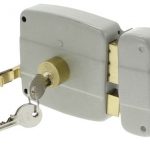
 Mortise latches
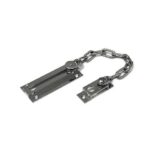
 Door holders
 Back door fittings on rosette
 Back door fittings on Rosette Sets
 Stainless Steel Back Door Fittings on Rosette Set
 Black Rear Door Fittings on Rosette Set
 Back door fittings on Rozet Los
 Other
Other
 Door handles
 Complete front door set
 Mailboxes
 Doorbells
 House numbers
 Door knockers
 Door holders
 Toilet rosette round
 Brass Tumbled
 Toilet rosette square
 Toilet spills
 Key rosette round
 Brass
Brass
 Cylinder rosette round
 Gray
Gray
 Cylinder rosette square

 Safety rosette round
 Letter plates
 Draft barriers
 Wall-mounted mailboxes
 White
White
 Brown
Brown
 Barrel locks
 Bathroom & Toilet locks
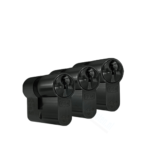
 Cylinder locks
 (Meter) Cabinet locks
 Keyboard locks
 Magnetic locks
 Security locks
 Additional locks
 Multi-point lock
 Electronic Locks
 SKG 2 Star Cylinders
 SKG 3 Star Cylinders
 Knob cylinders
 Cylinders without SKG Quality Mark
  Closing bowl
 Keeping plates
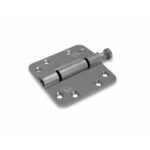
 Ball bearing hinges


 Paumelles
 Pivot hinges

 other hinges
 Plain bearing hinges
 Hinges with loose pin
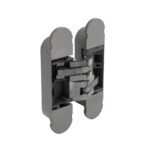 Invisible hinges
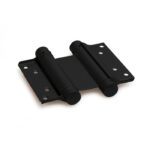 Bommer hinges
 Pivot door hinges
 Decorative sleeves

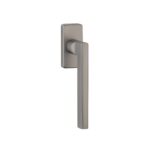
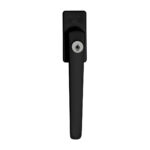 Window handles standard
 Standard window closures
 Door holders
 Vent holders for windows
 Stainless steel
 Magnet snapper
 Roller slider
 Hatch rings
 To notice
 Intersteel


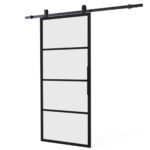
 Sliding door systems
 Stainless steel sliding door system
 Sliding door system Black
 Sliding door system Antique
 Lift sliding door fitting
 Sliding door bowls
 DIY Sliding Doors


 Door Hardware Sets
 Edge sliding
 Door closers
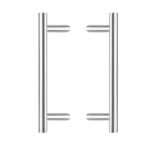
 Push plates - Door plates
 Door knockers
 House numbers
 Wardrobe
 Carriers
 Furniture fittings
 Hinges & Paumelles
 Markers
 Fastening material
 Milling jig sets
 Door spies
 Thieves Claw
 Slides and latches
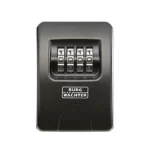 Key boxes
 Rosettes
 Espagnolettes
 Door handles
 Toilet and bathroom accessories
 Door and gate springs
 Cheap door fittings
 Interior door fittings
 Security fitting
 Window fittings


 Aprile
 Artitec
 Intersteel
 Hafi
Hafi
 Formani
 Olivari
 Stile
Stile
 Strong
 Hard brass
 Axa
Axa
 Imprint
 D4E
D4E
 Formani
 Dieckmann
 Cisa
Cisa
 Stupid
 Dulimex
 Lips
Lips
 Nemef
Nemef
 Pfaffenhain


 Door handles on rosette
 Anthracite Gray Door Handles
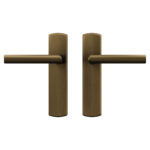 Door handles on shield
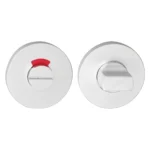 Toilet Closure Round
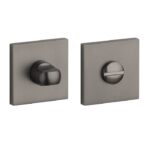 Toilet Closure Square
 Toilet overflow
 Key rosette Round
 Key rosette Square
 Profile cylinder Rosette Round
 Profile cylinder Rosette Square
 Profile cylinder Rosette Oval
 Profile cylinder Rosette Rectangular
 Knob crank (rotatable)
 Door knob on rosette (not rotatable)
 Door knob on shield (not rotatable)
 Door knob sets
 Door knob sets rotatable/rotatable
 Fixed/rotatable door knob sets
 Fixed/fixed door knob sets
 Sliding door bowl
 Icons
Icons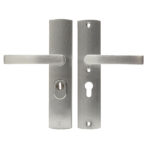 Security fitting
 Front door fittings
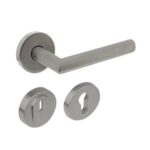 Back door fitting on Rosette
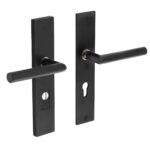 Back door fitting on Shield
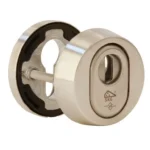 Safety rosette
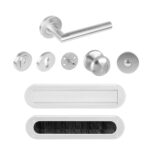 Door fitting sets
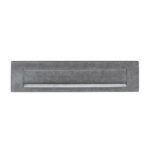 Mailboxes
 Letter plates
 Draft barriers
 Wall-mounted mailboxes
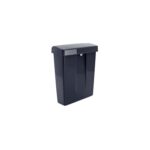 Plastic mailbox
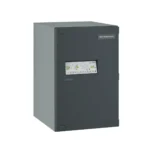 Parcel mailboxes
 Door handles
 Door handles without rosette
 Door handles on rosette
 Front door knob
 Extra security & locks
 Letter plate
 Draft proofing
 Wall-mounted mailboxes
 Plastic mailbox
 Inner door mortise locks
 Cylinders
 Closing bowl
 Ball bearing hinges
 Safety hinges
 Paumelles
 Other hinges
 Window closure
 Window stays
 Closing bowls
 Window cutting
 Window drop scissors
 Furniture knobs
 Furniture handles
 Magnetic snappers
 Sliding door bowl
 Sliding door systems
 Lift sliding door fitting
 DIY Sliding Doors
 Locks
Locks Furniture Hardware Offers


